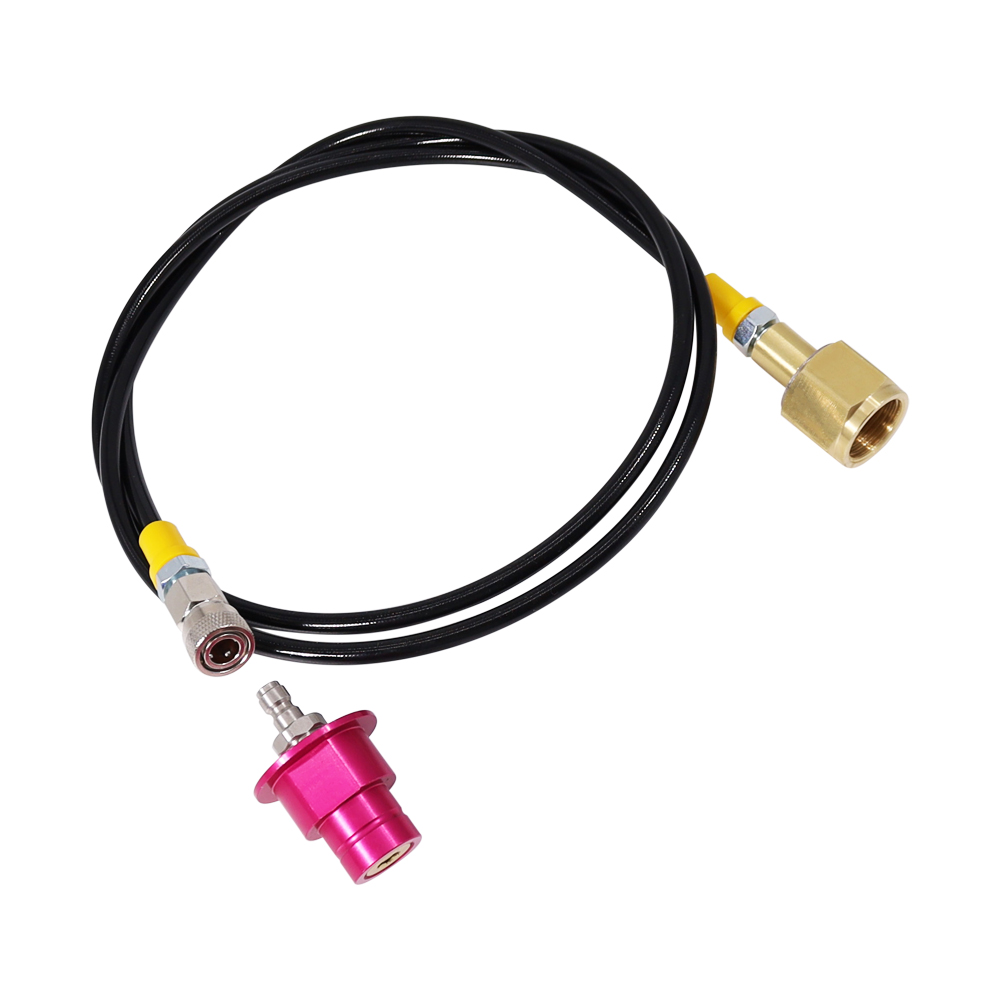
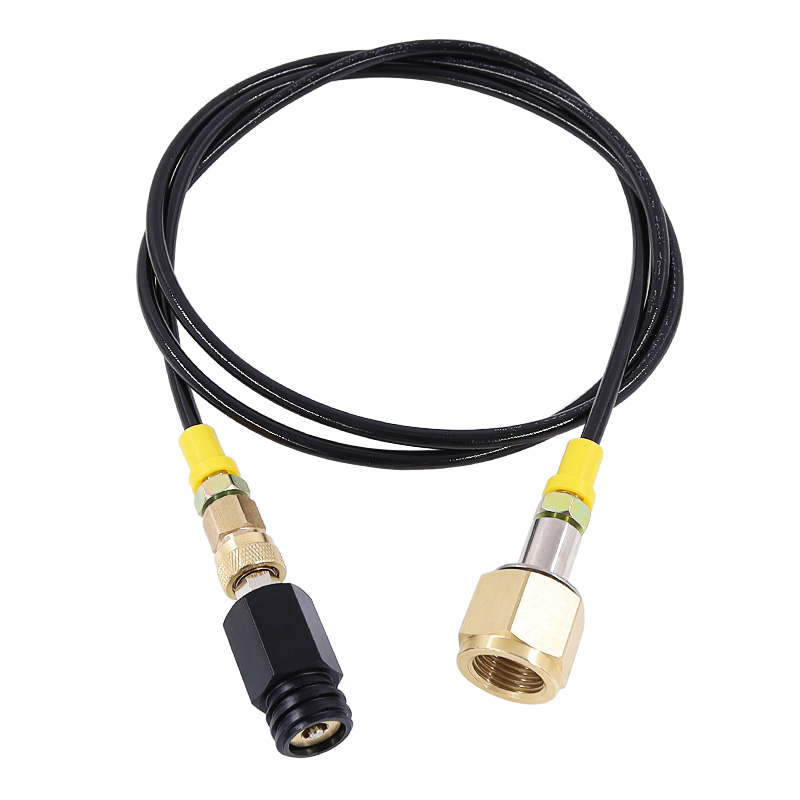
Choose Your Model For Instructions
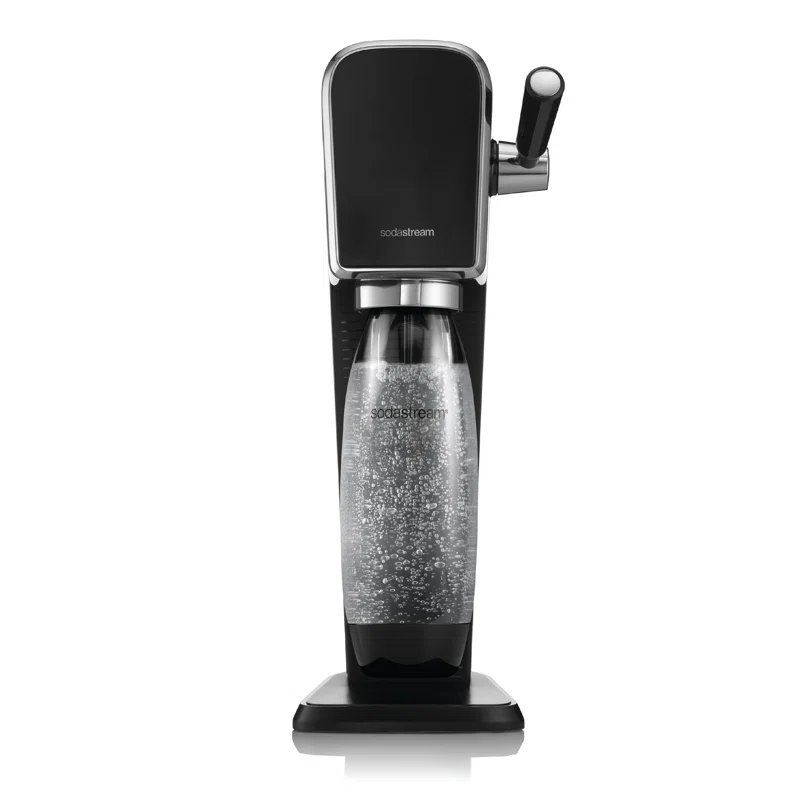
Soda Stream ART Instructions
Step 1:
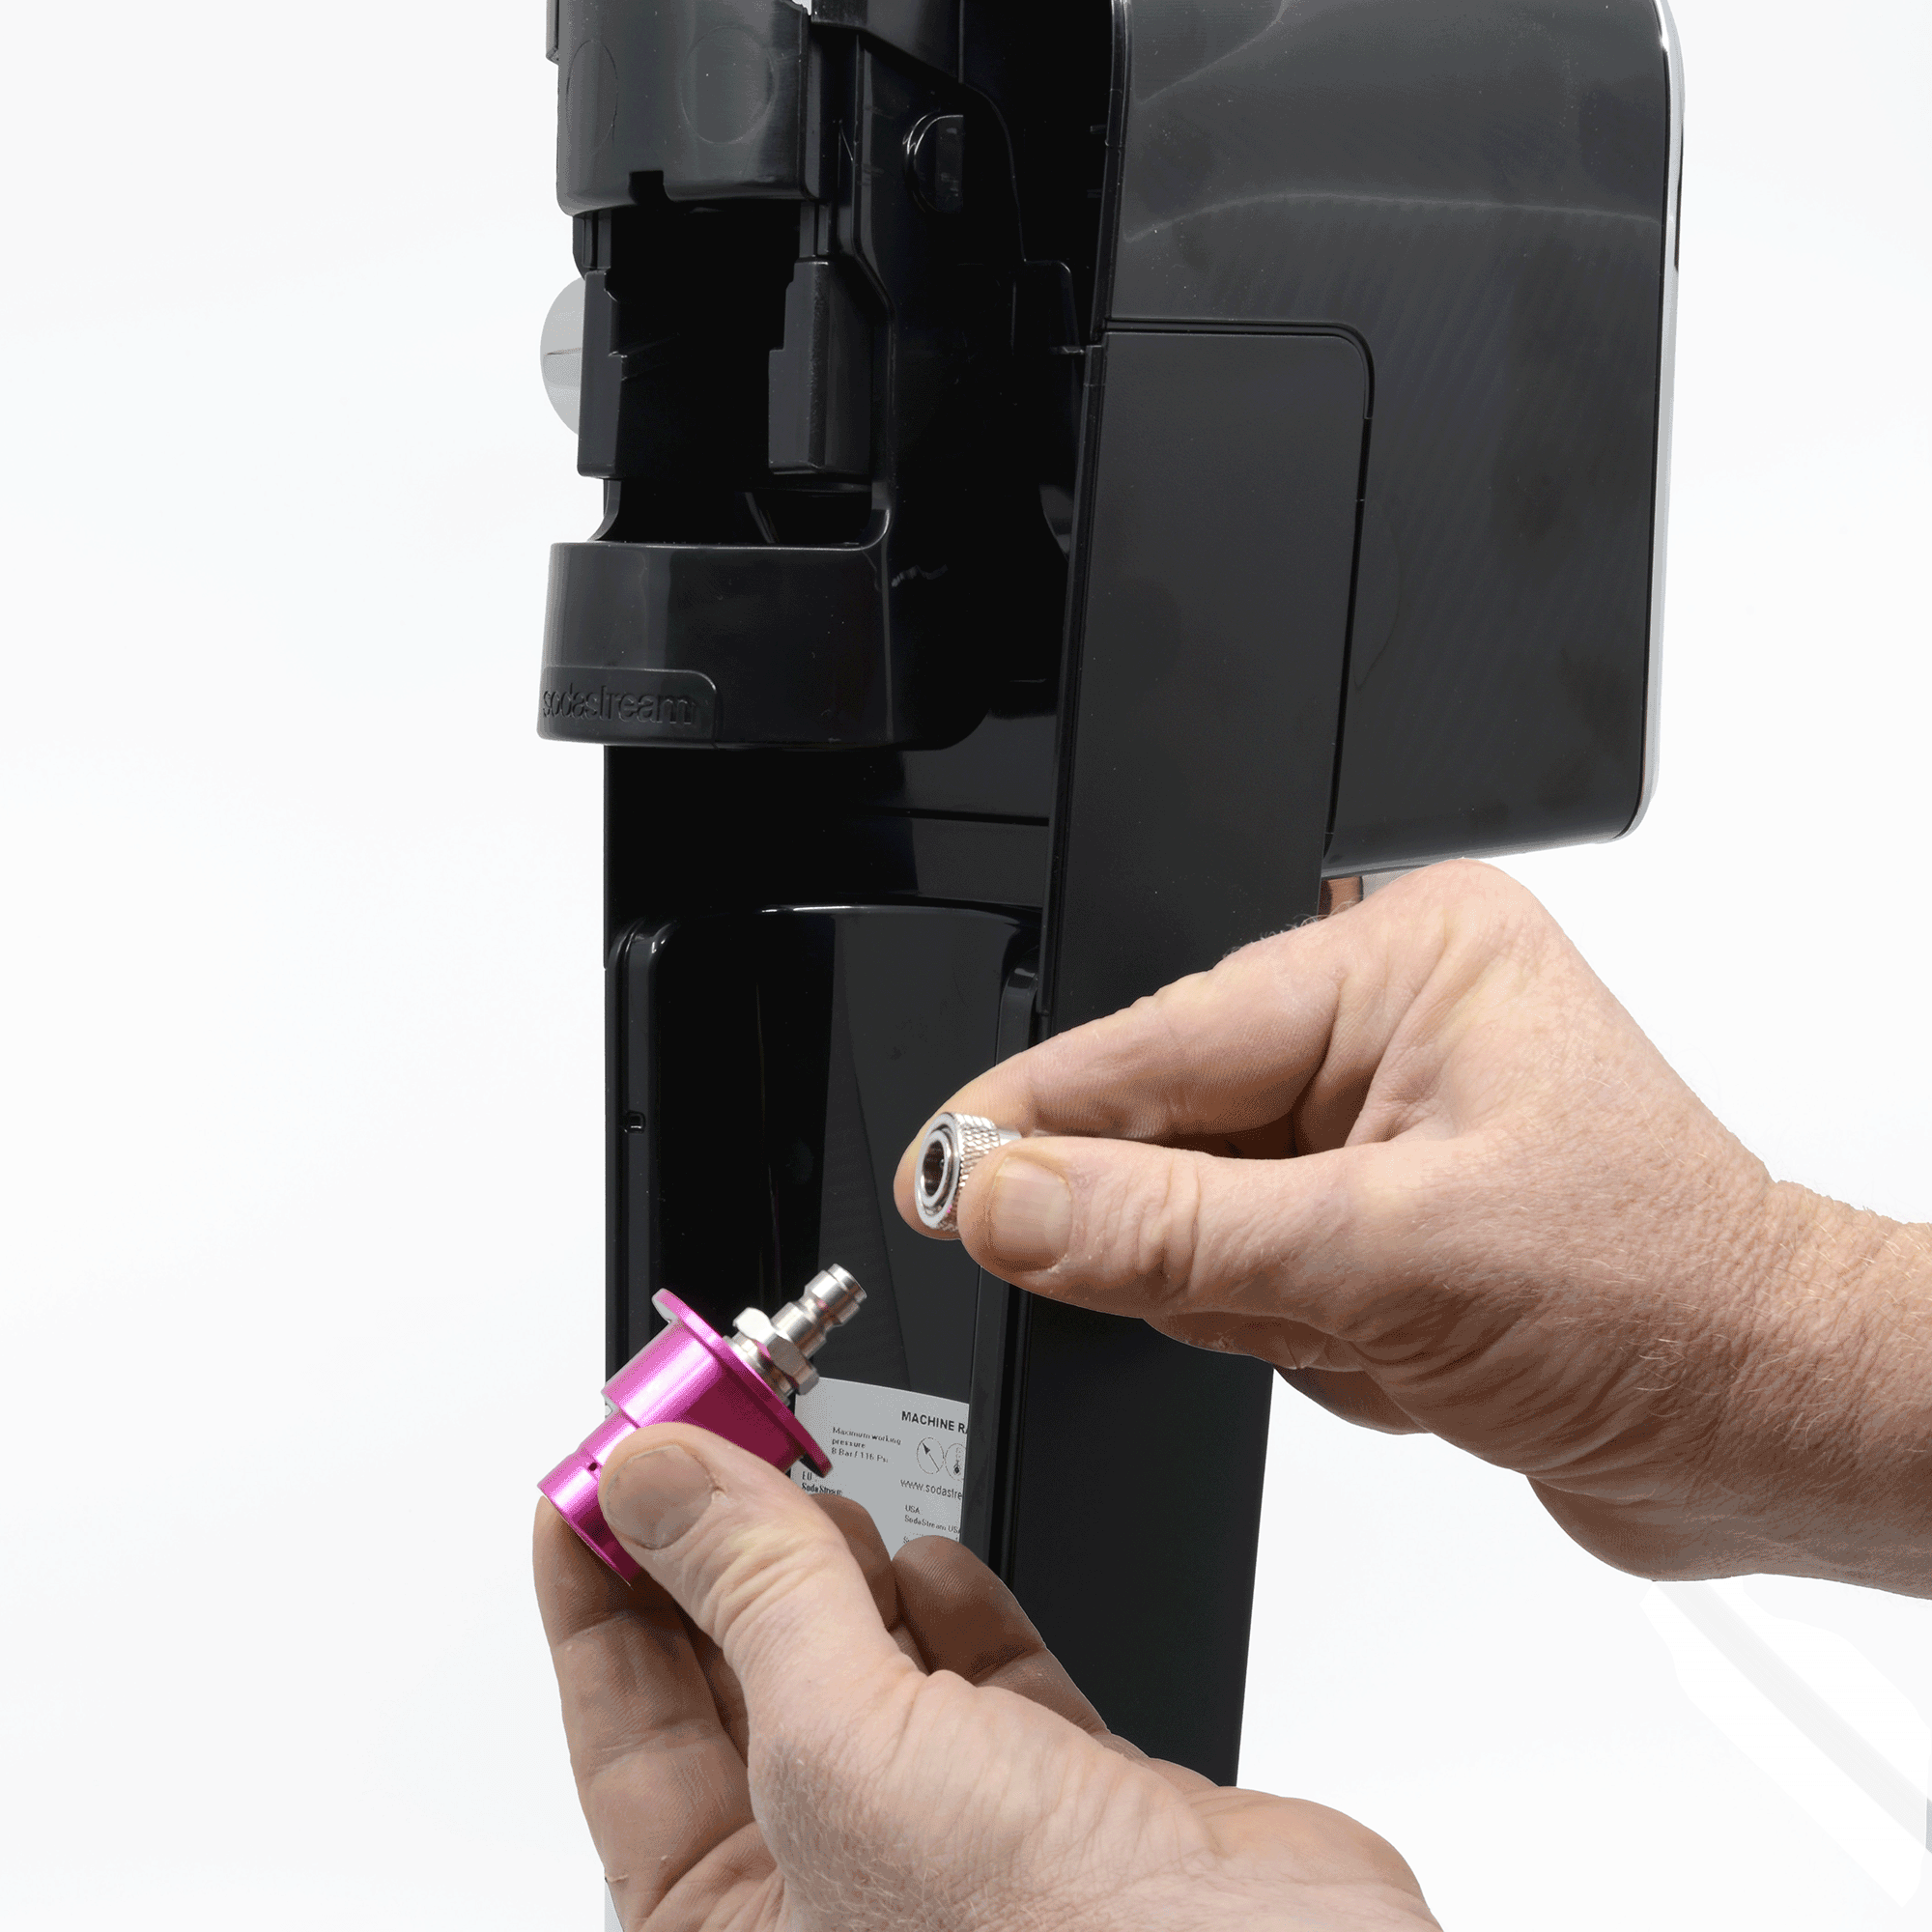
Remove the Pink connector from the Hose by pulling back on the knurled quick connect ring. You should also remove the back of your machine at this time.
Step 2:
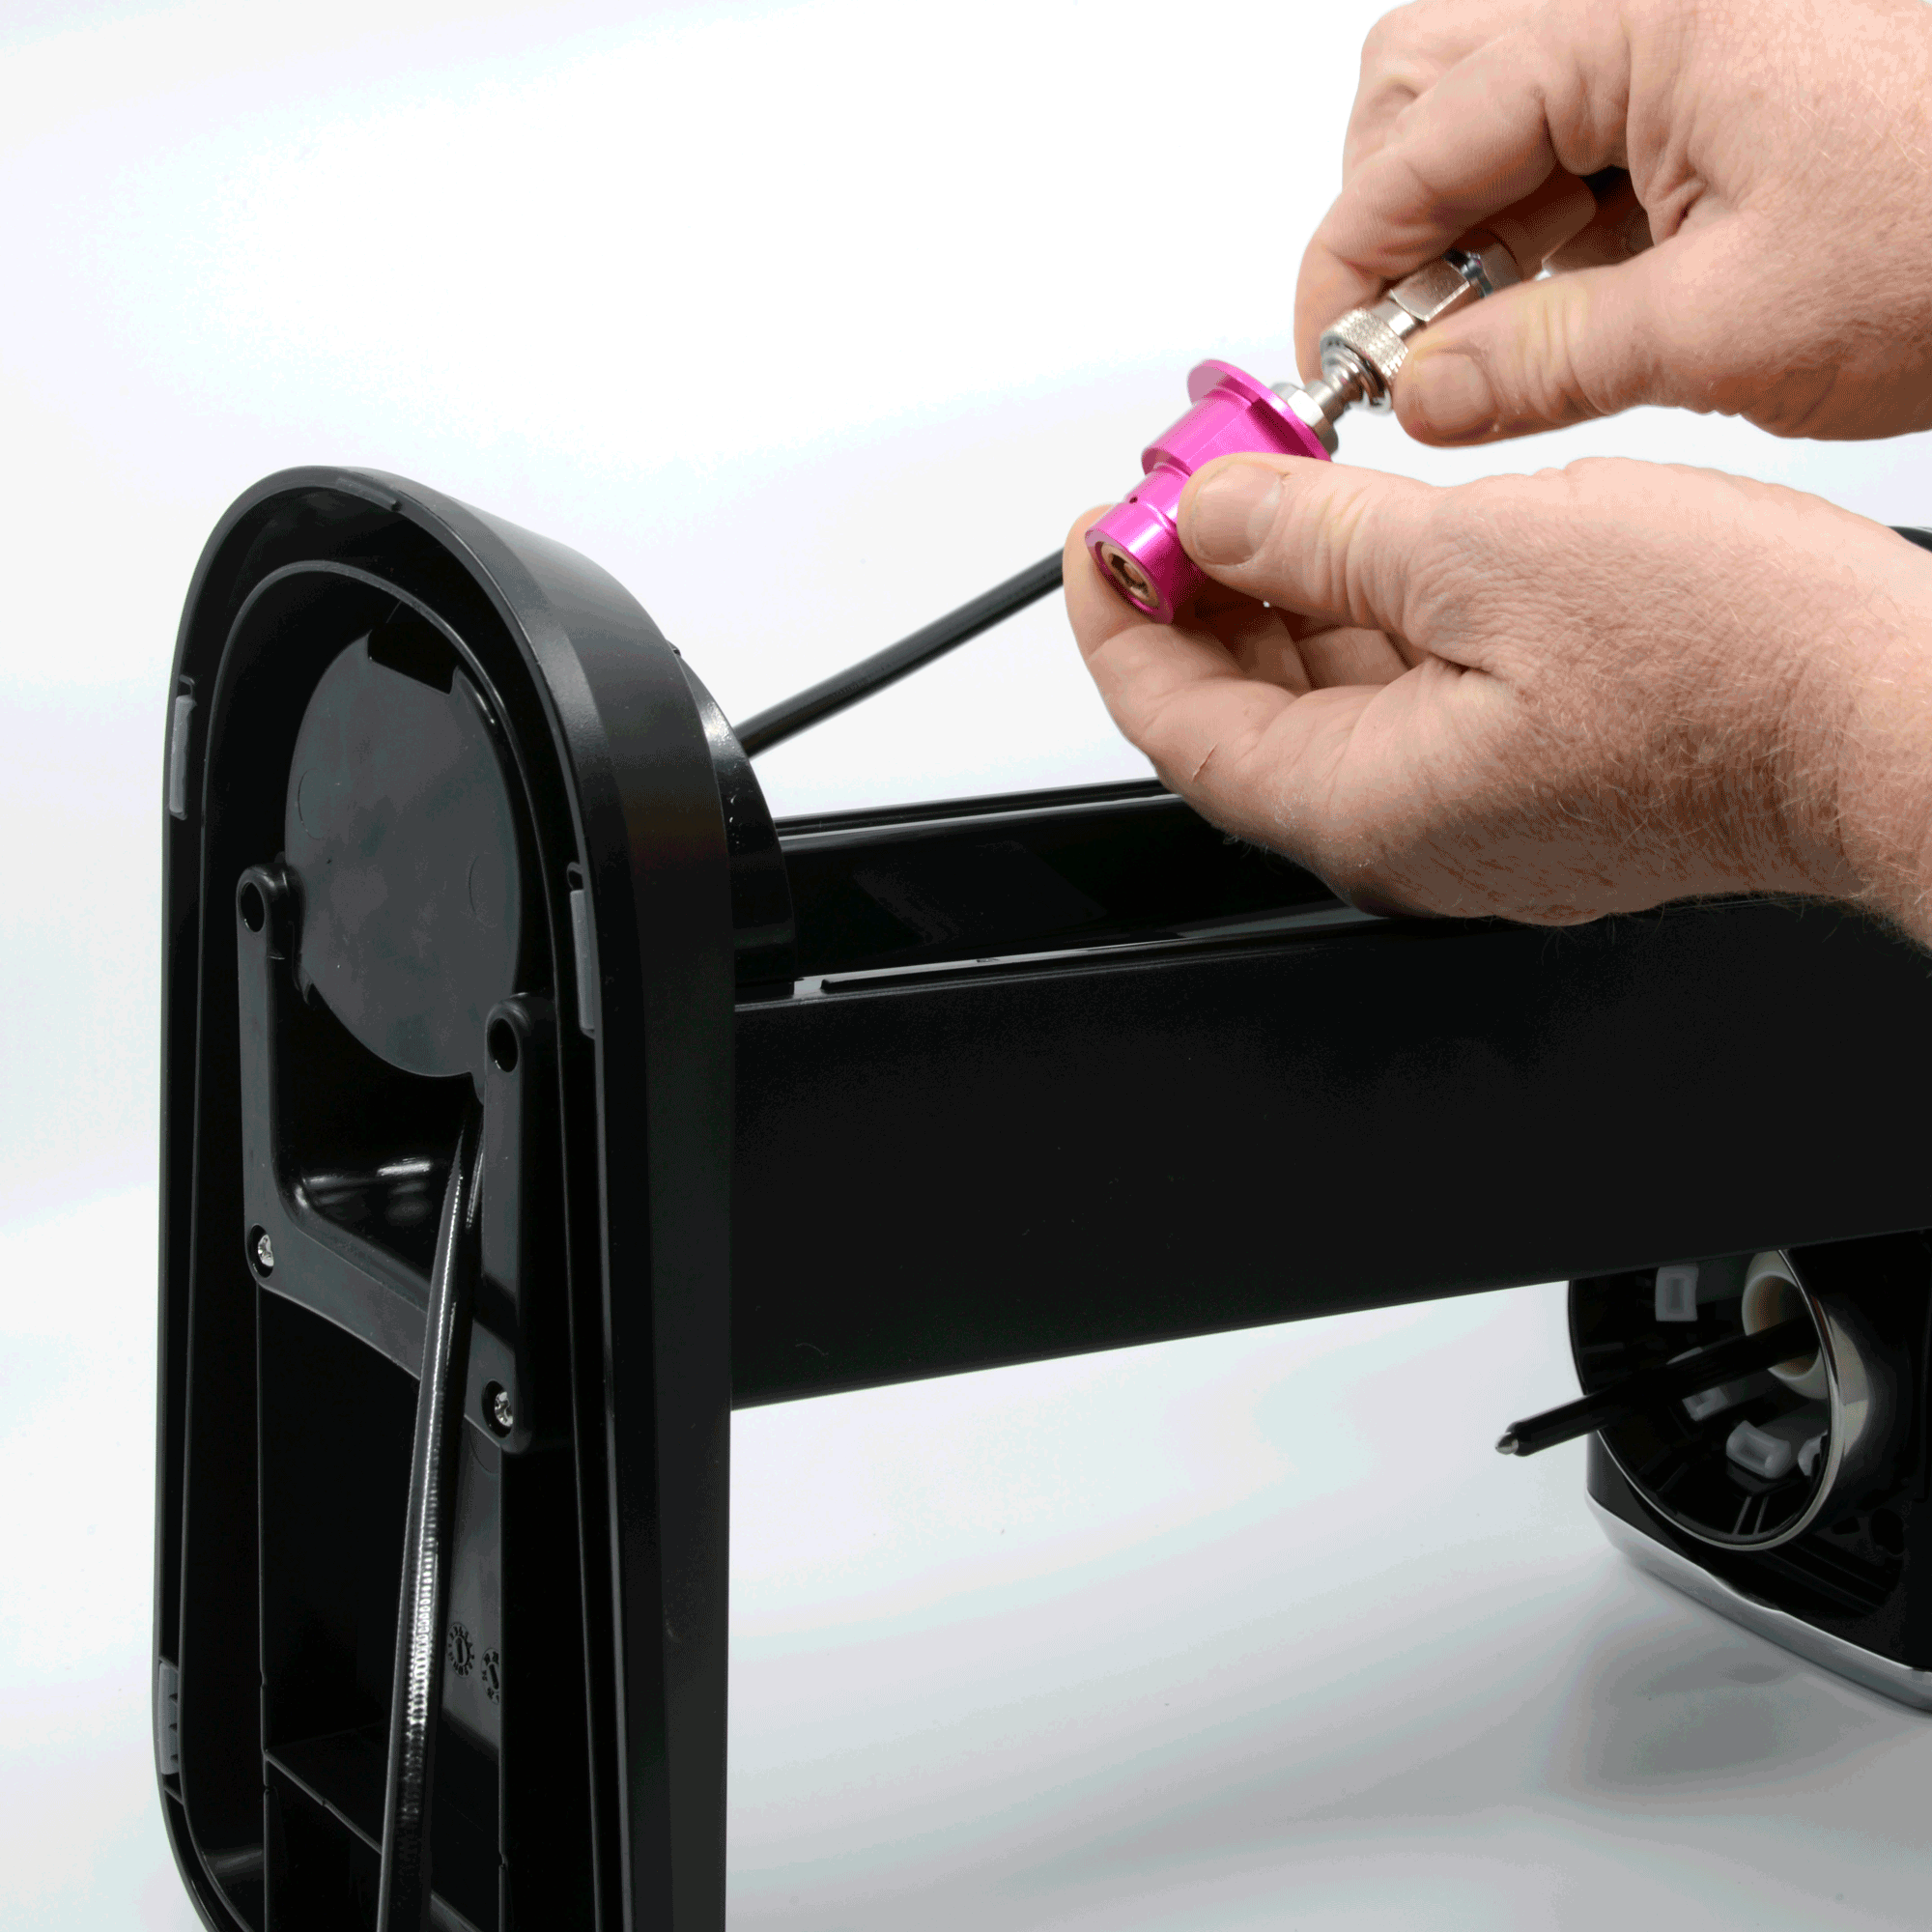
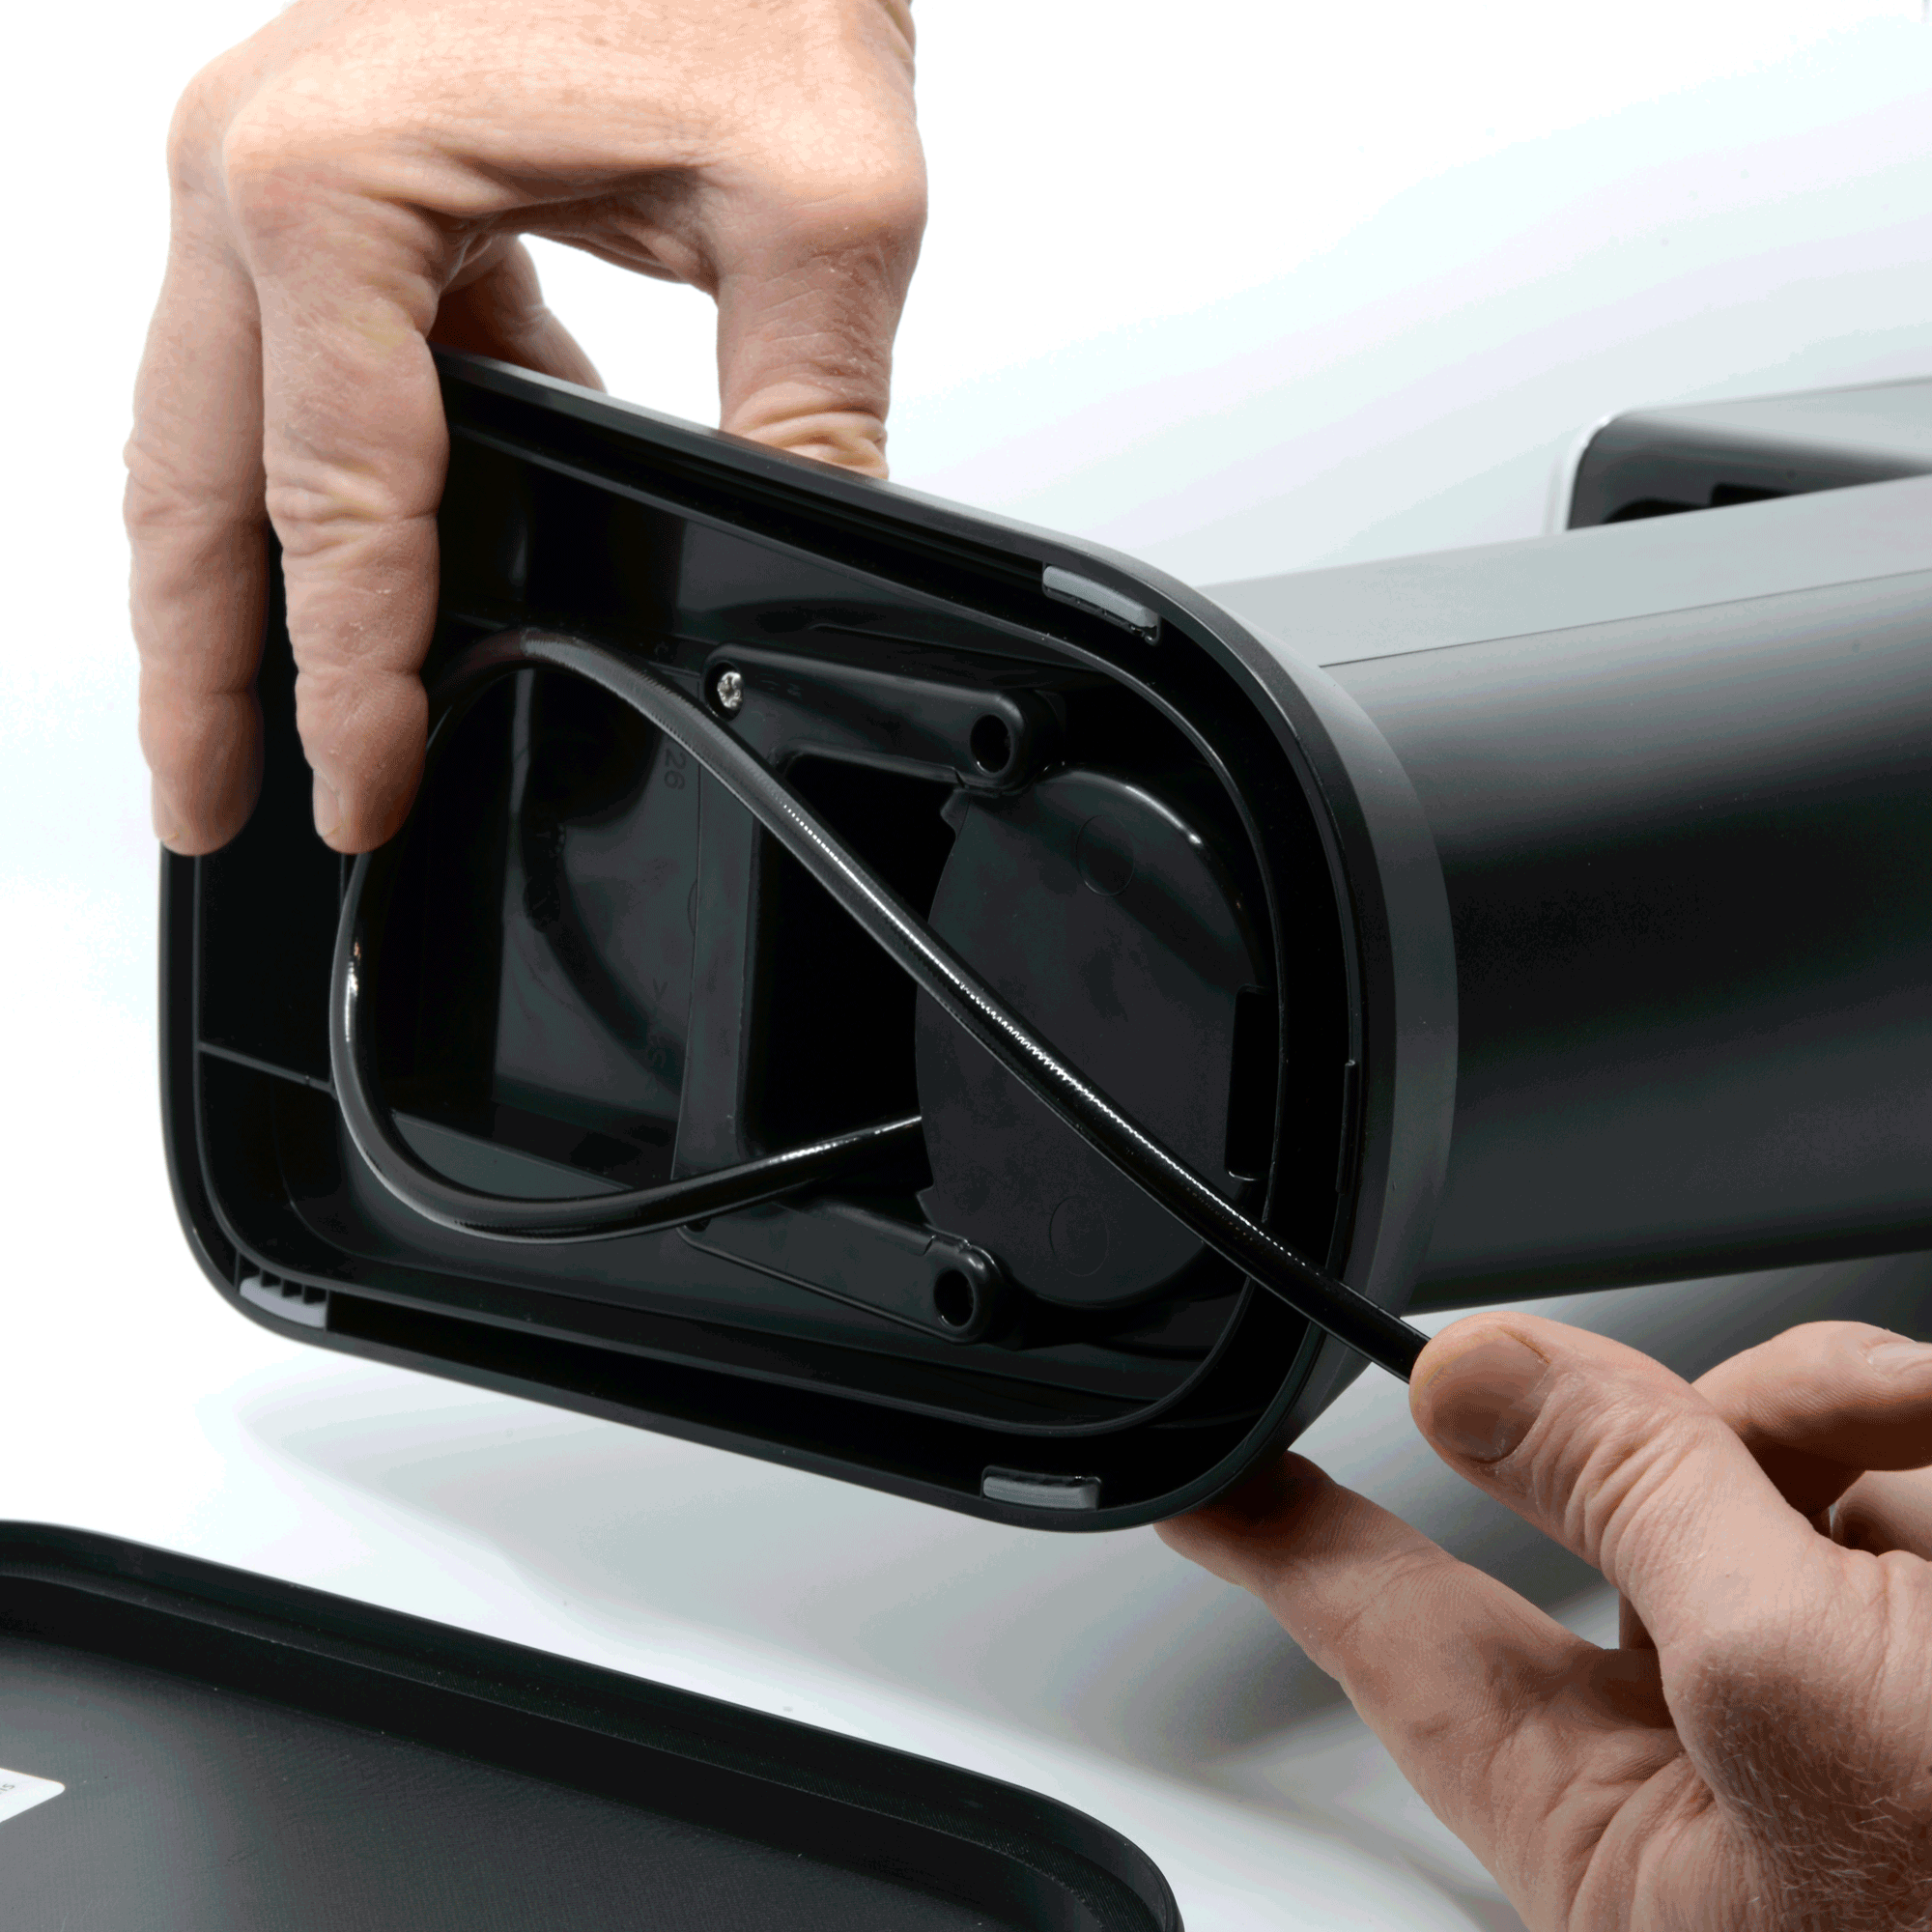
Pass the hose through the bottom of the Soda Stream and reattach the pink quick connect adapter.
Step 3:
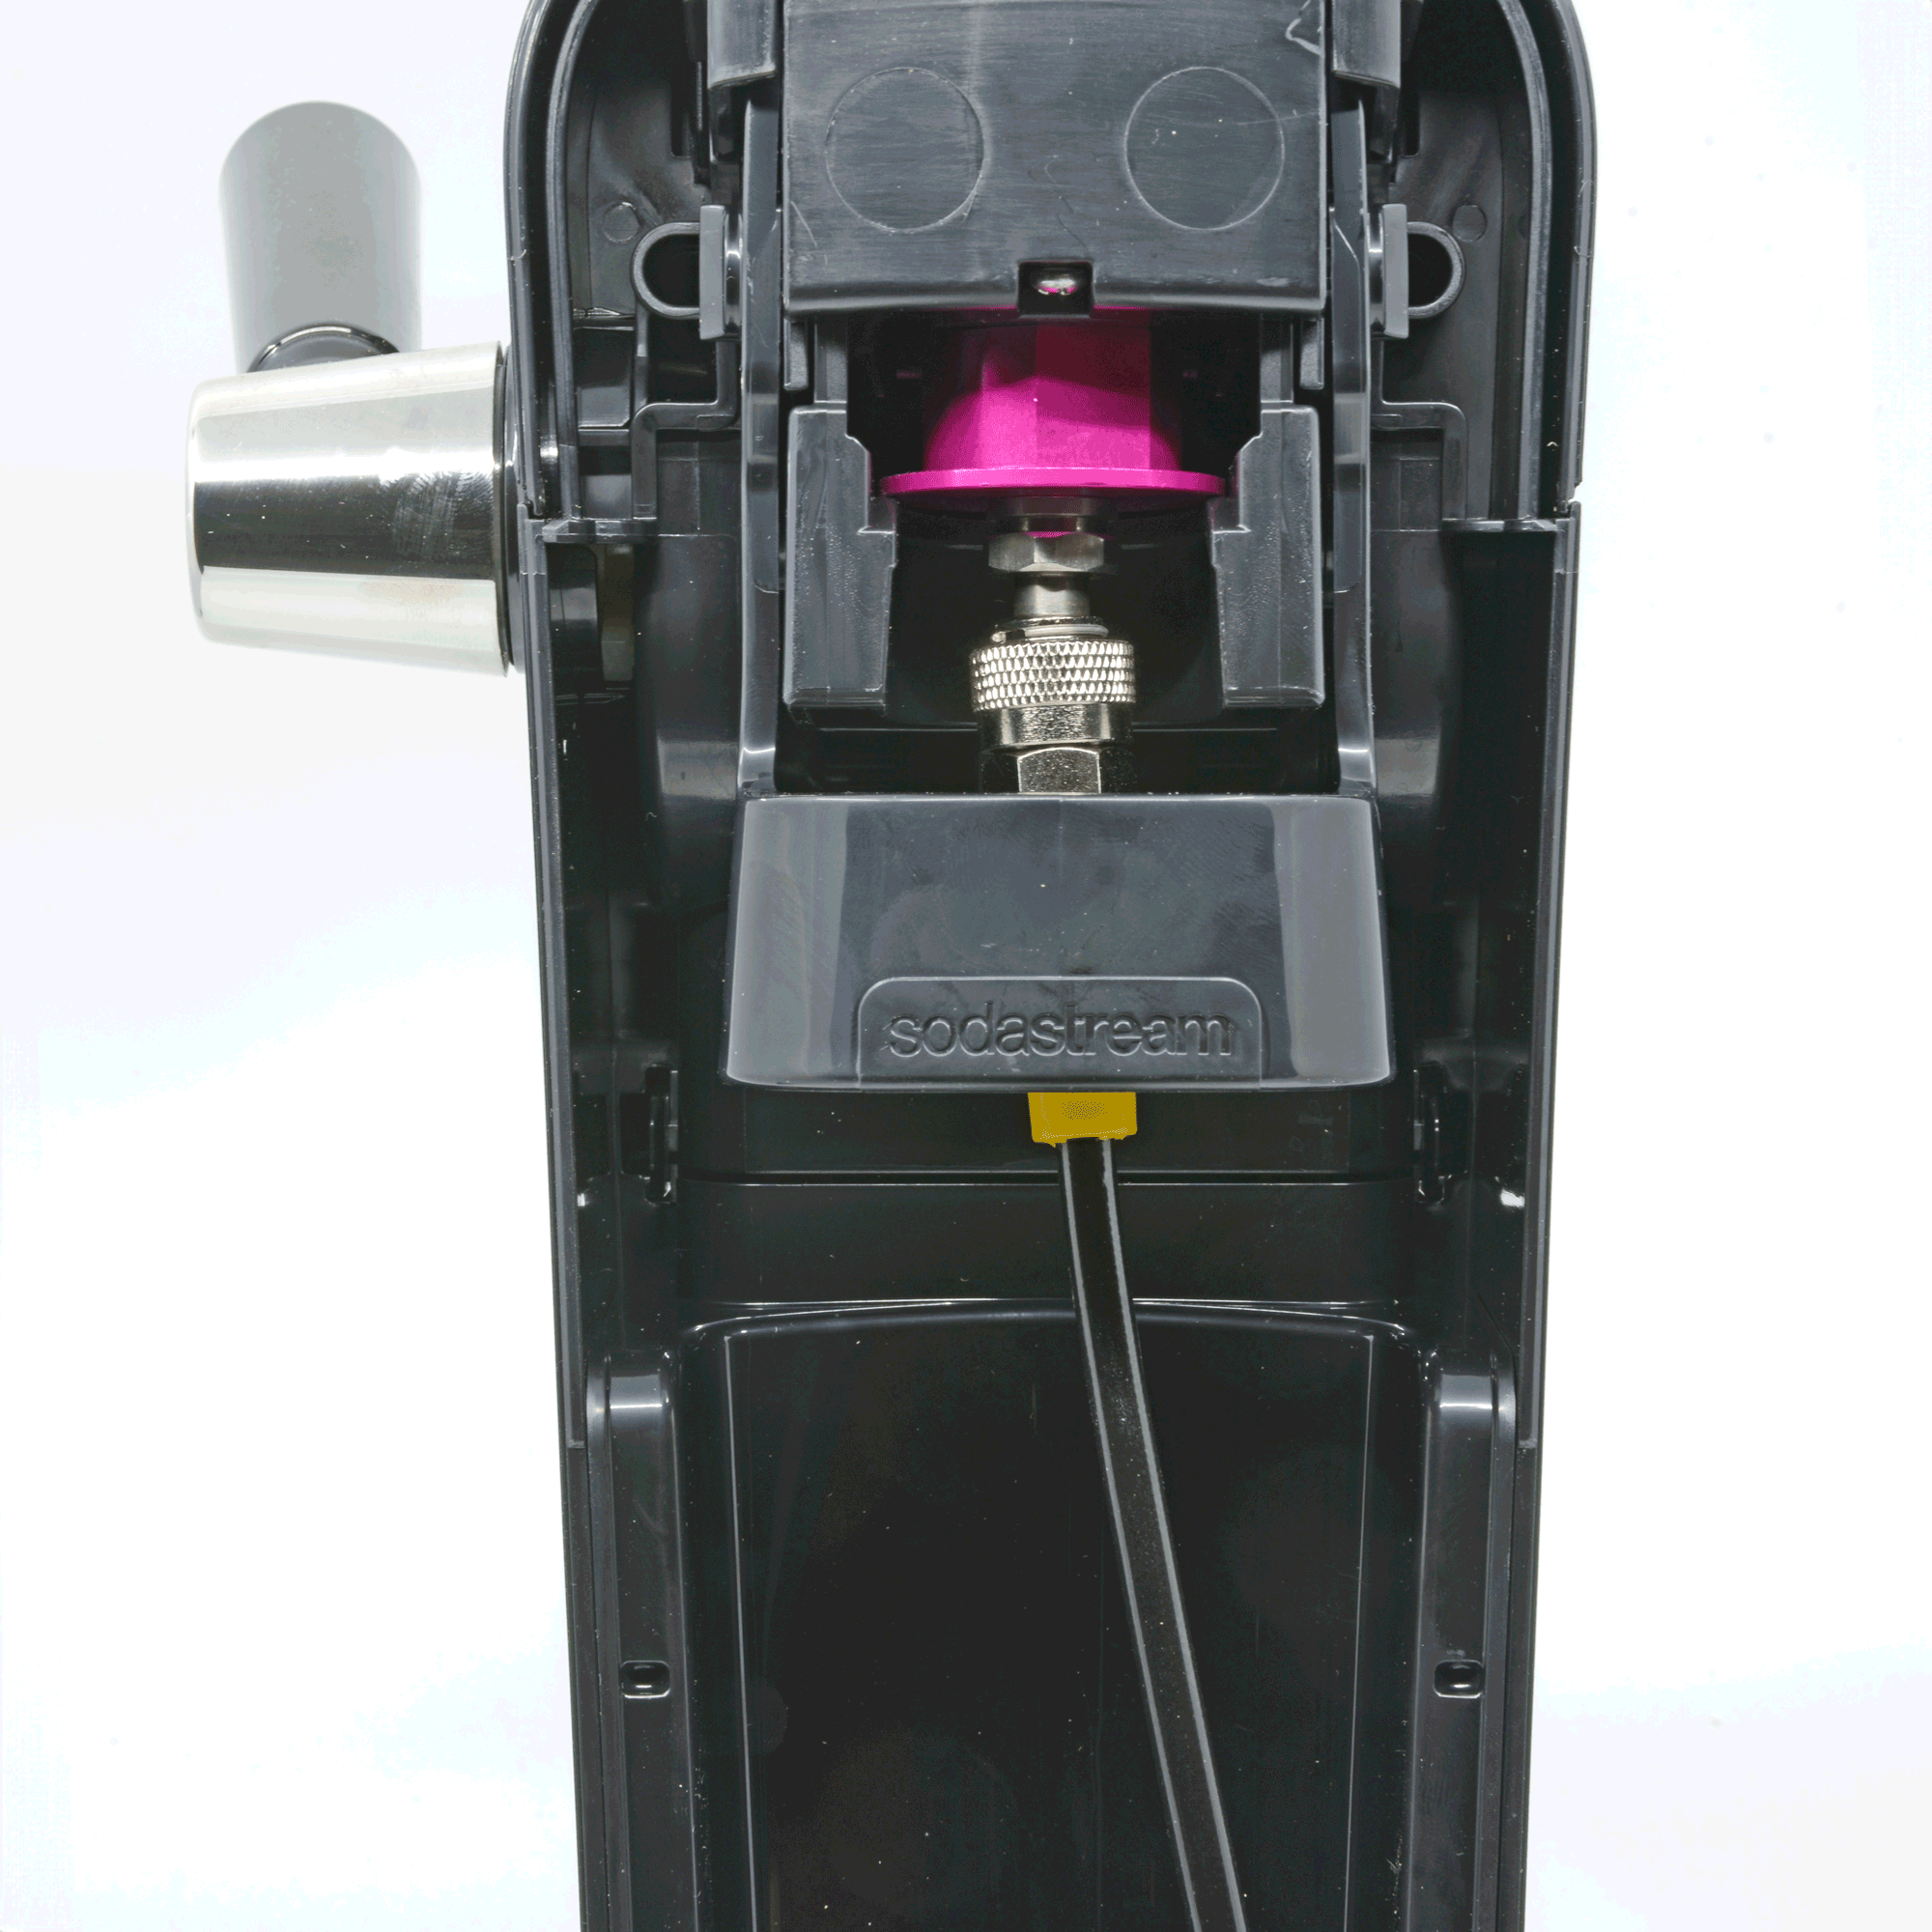
Place the Pink quick connect adapter in the sodastream device and lock it into place the same way you would a bottle.
Step 4:
Step 5:
Step 6:
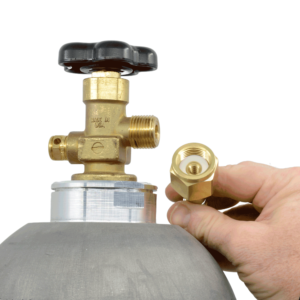
Step 7:
Ensure that the white washer is securely positioned on the threaded end of the adapter hose.
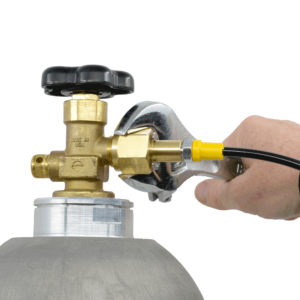
Step 8:
Ensure that the connection to your CO2 tank is securely tightened with a wrench for optimal performance, while being cautious to avoid applying too much force that could damage the fittings or compromise the integrity of the system.
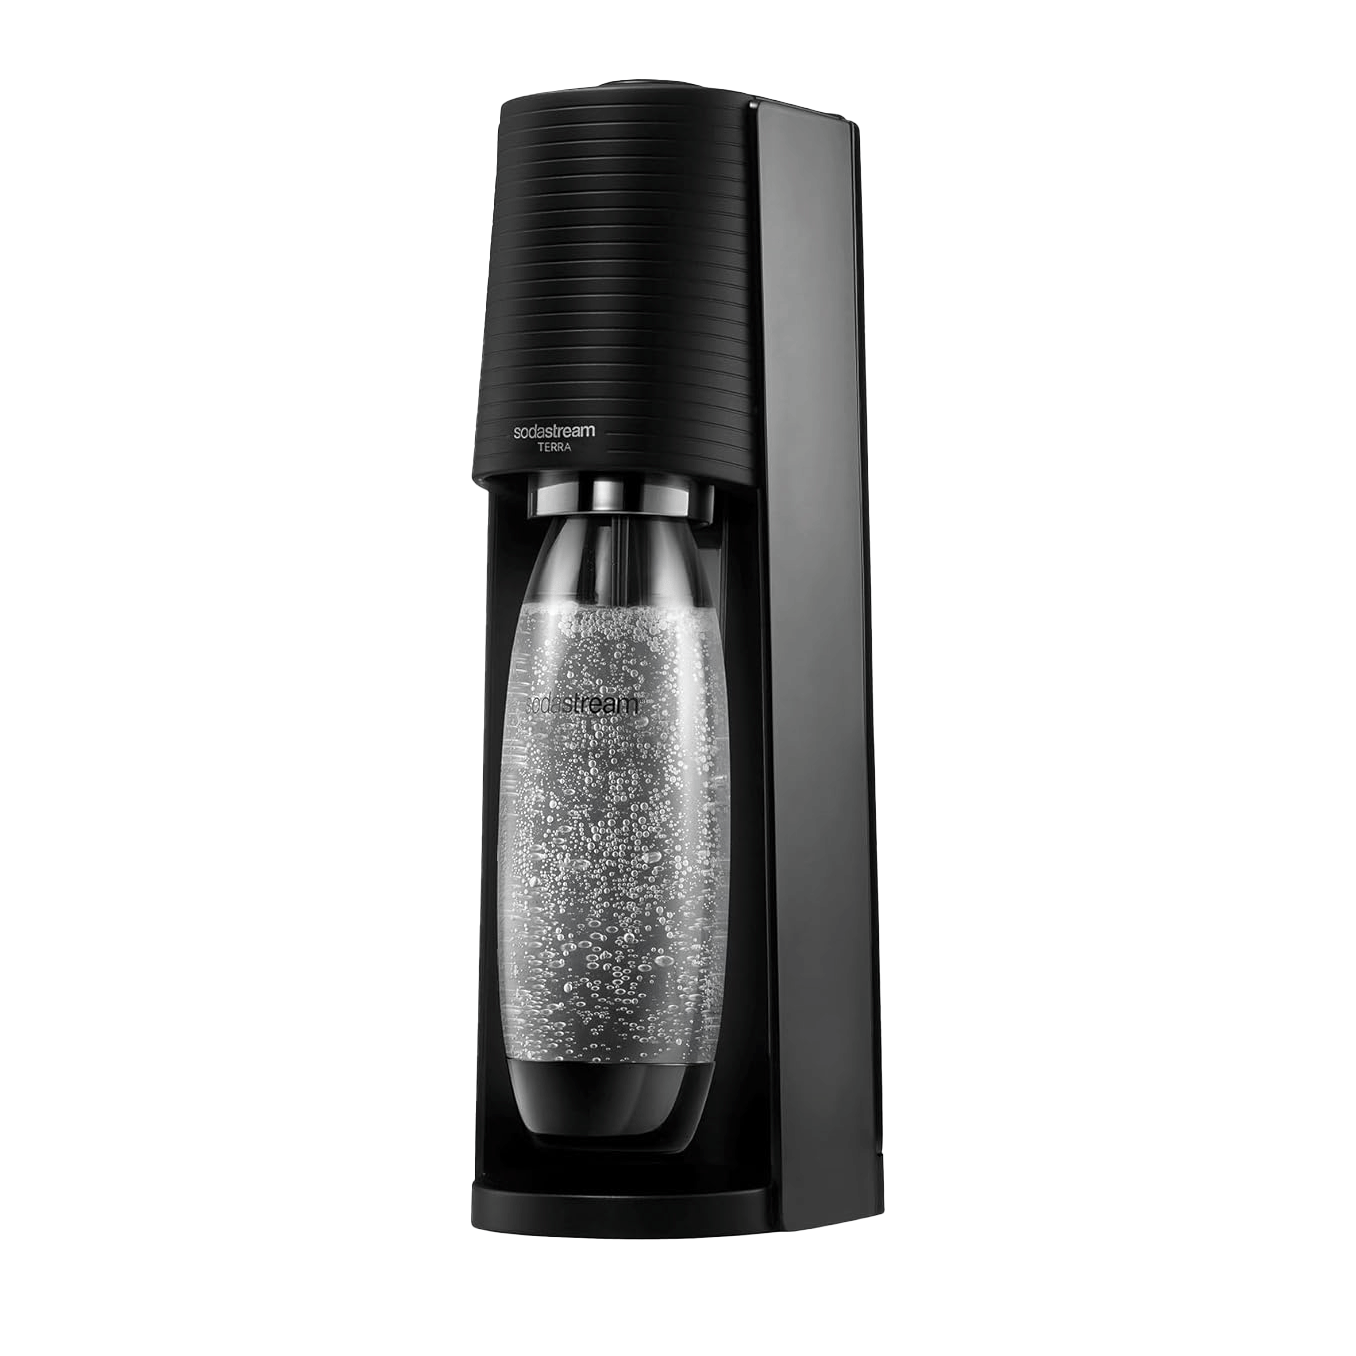
Soda Stream TERRA Instructions
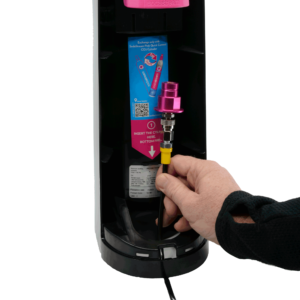
Step 1:
Remove the back of the device and pass the hose through the bottom of the machine as shown.
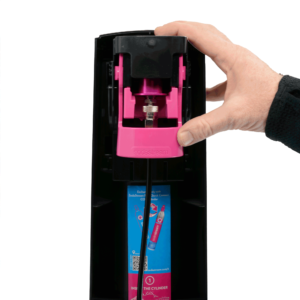
Step 2:
Attach the hose to the SodaStream Terra in a similar manner to how you would attach a bottle
Step 3:
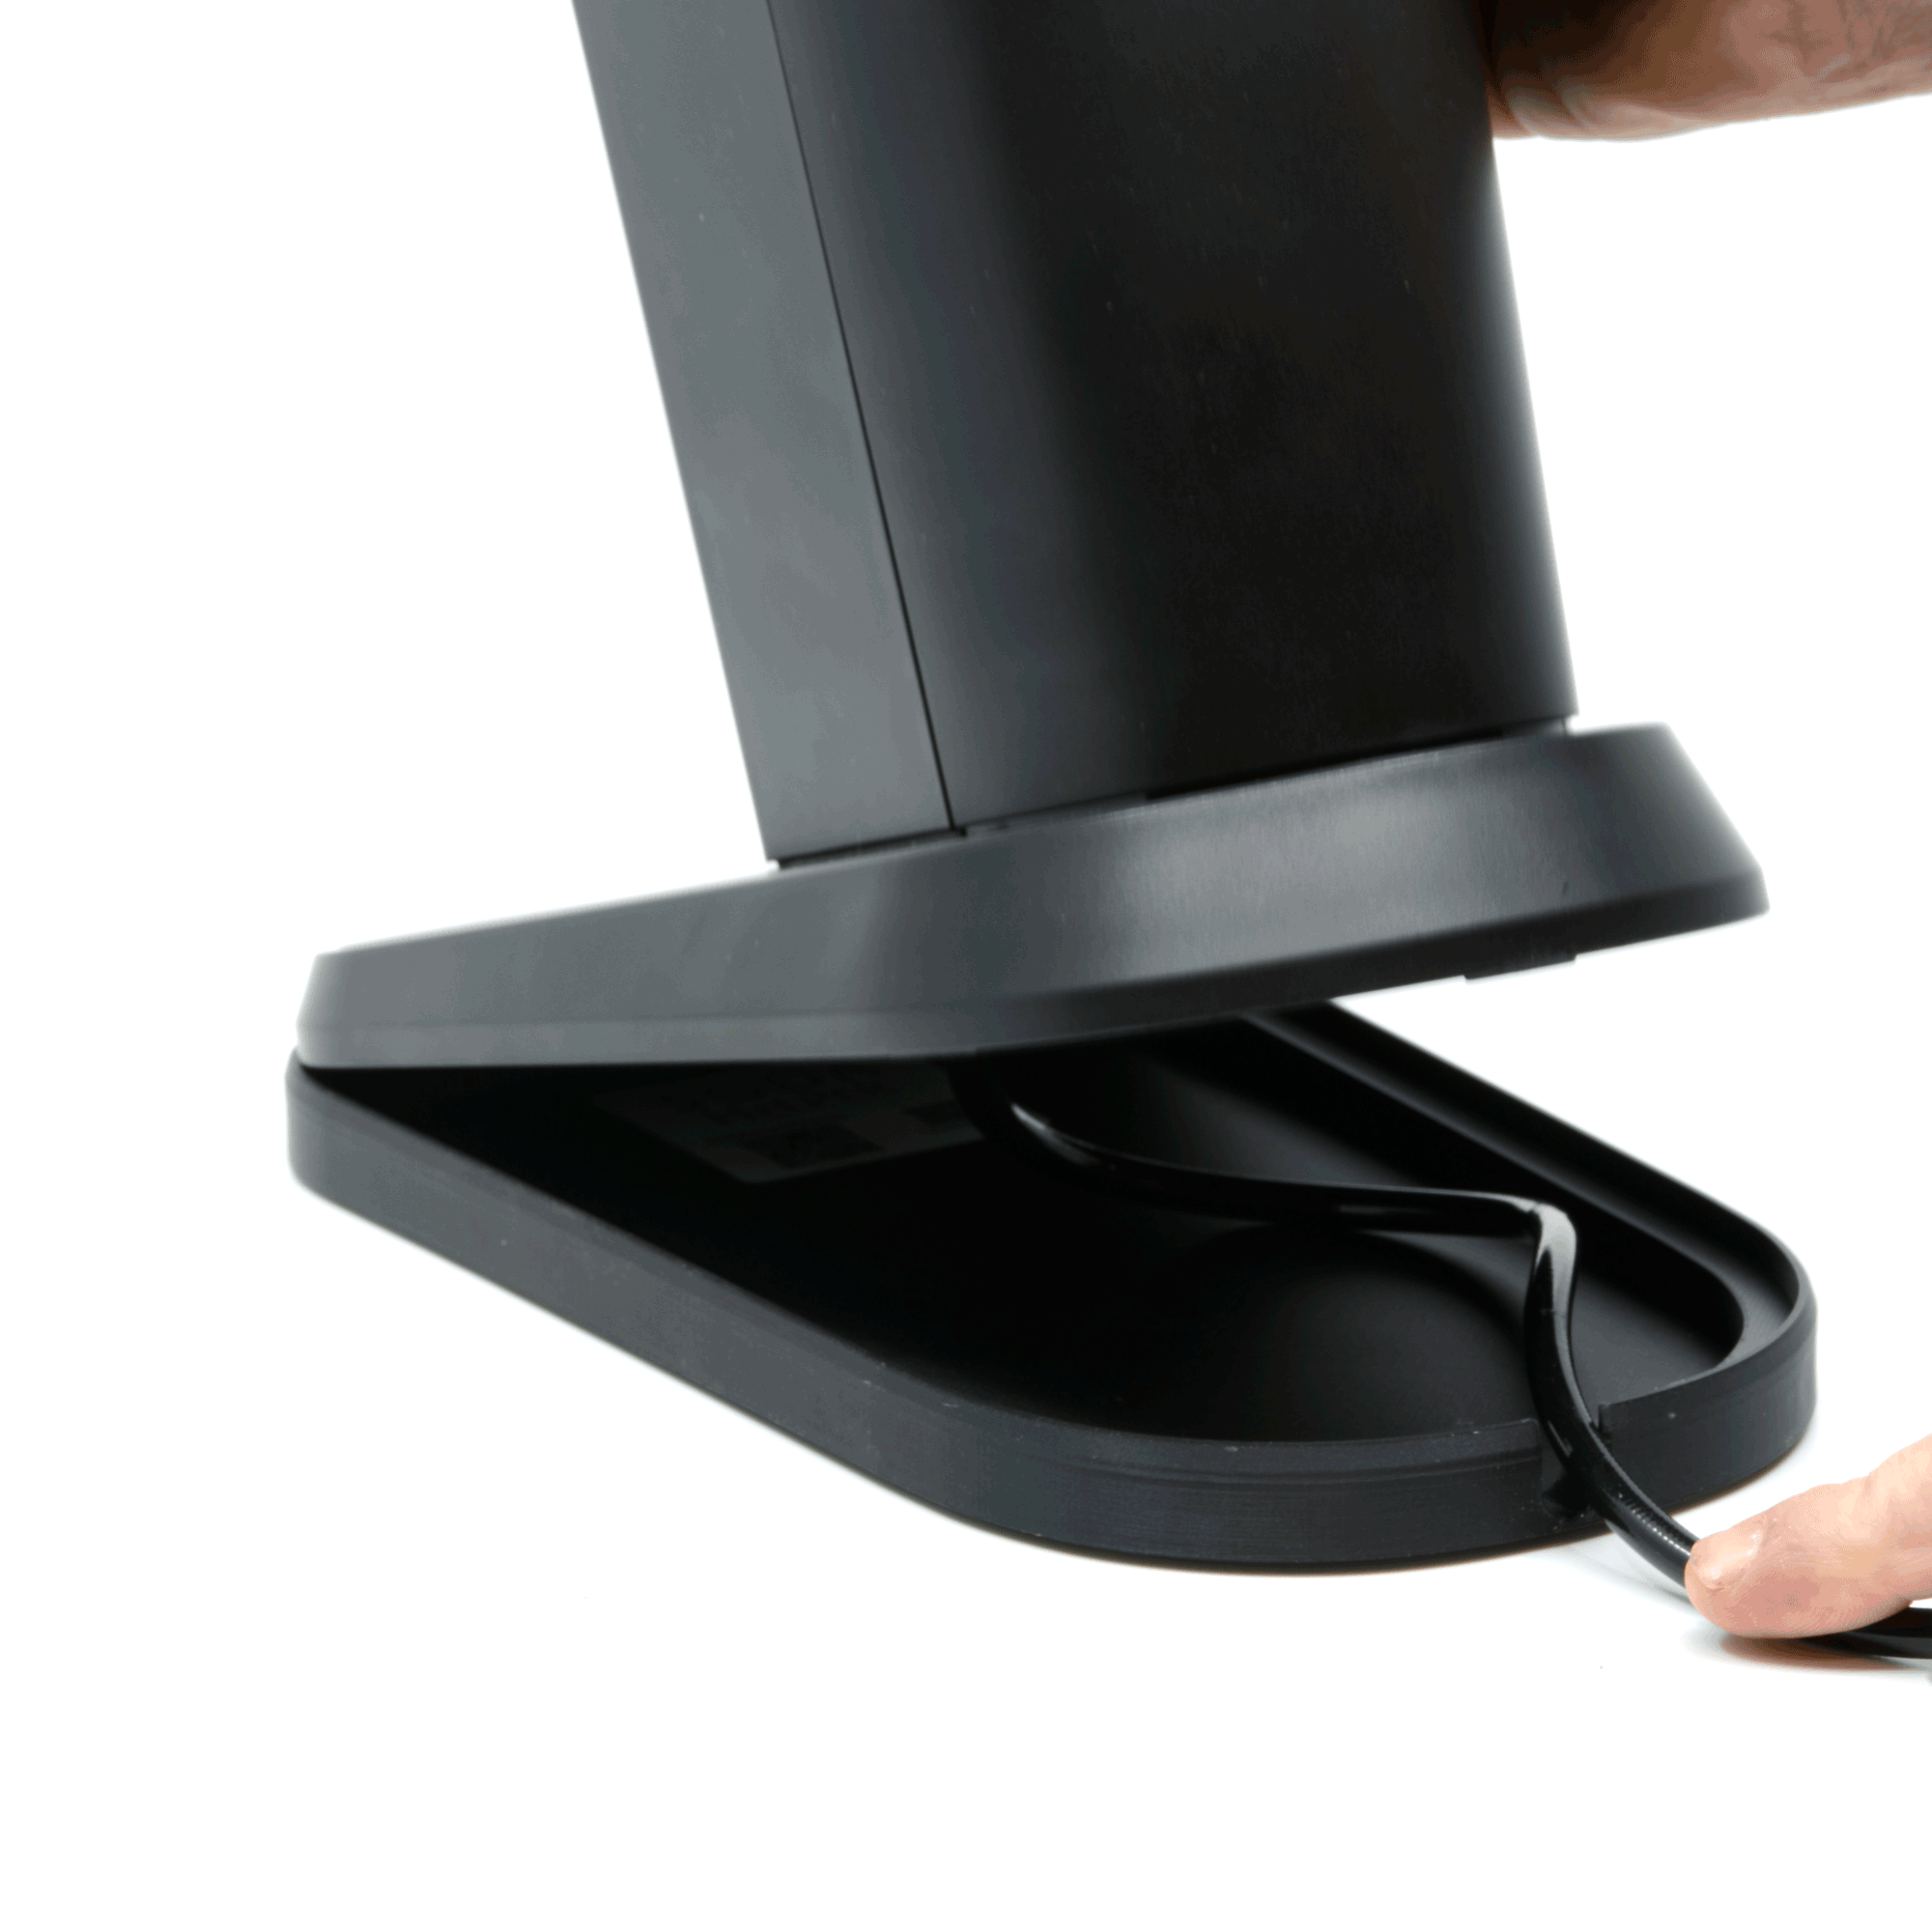
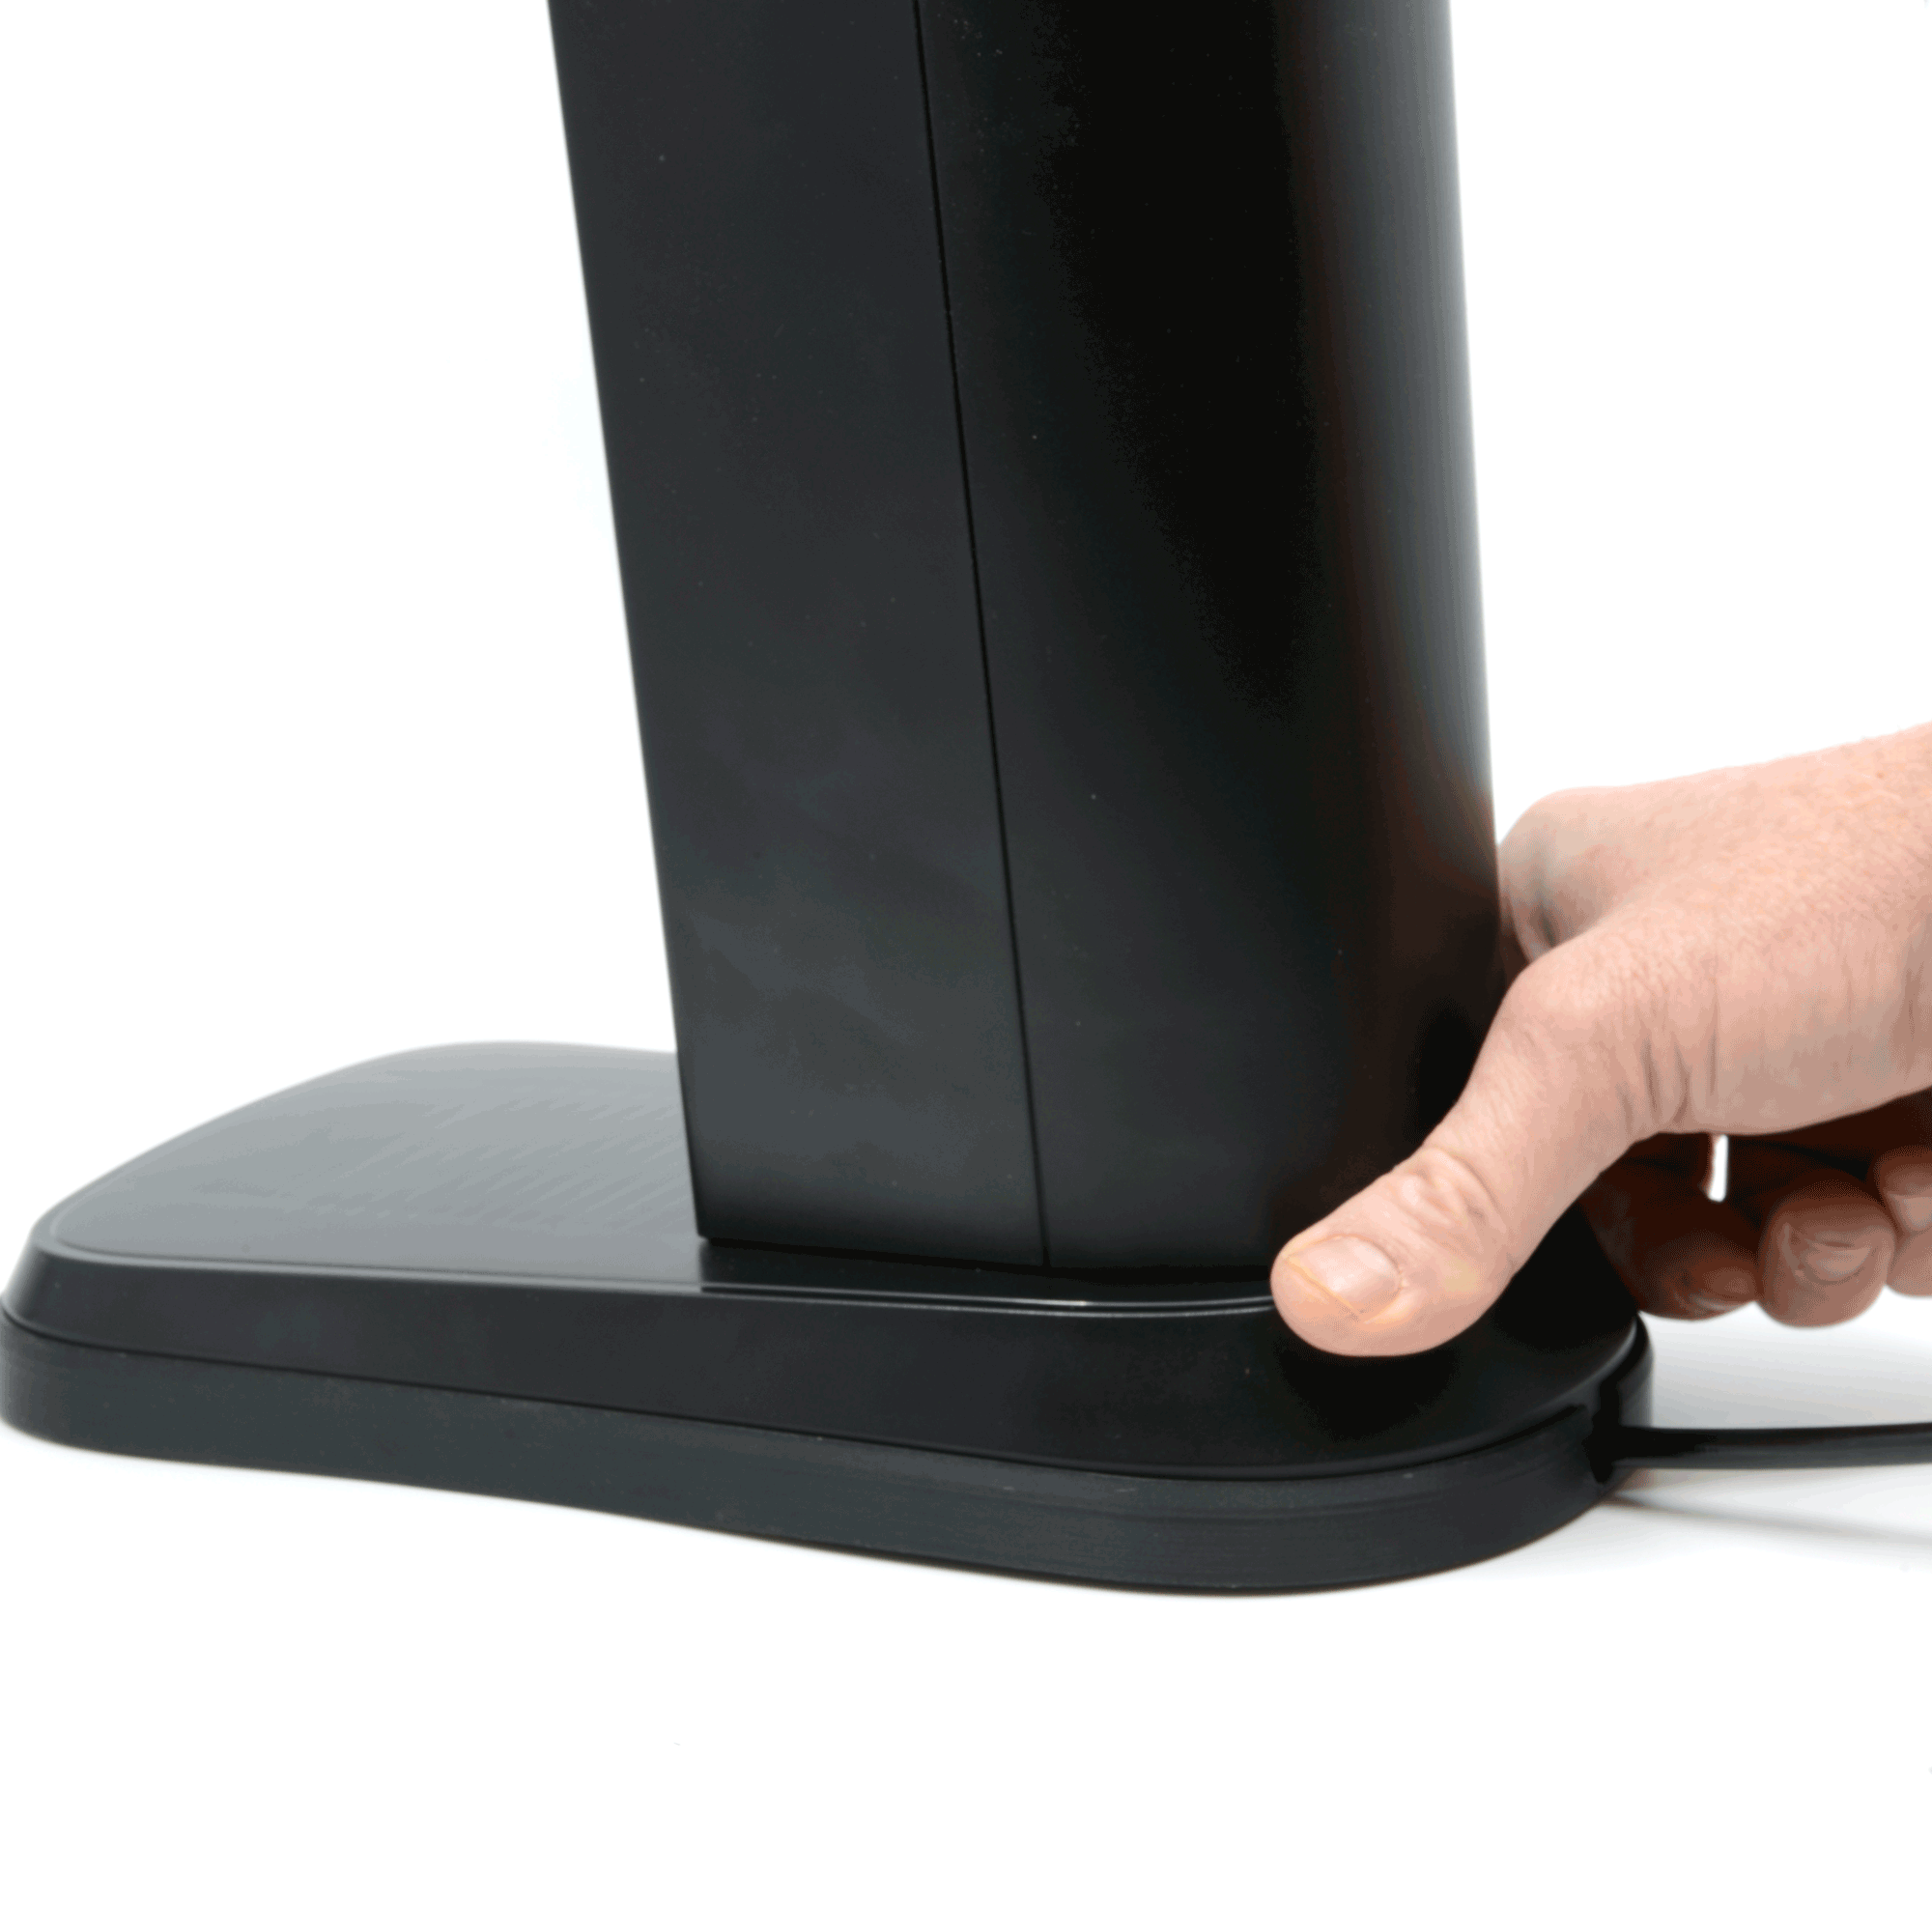
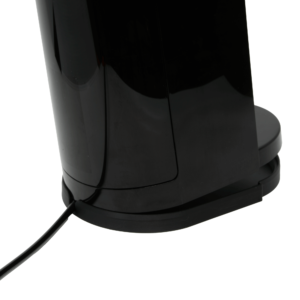
Place the Soda Stream Terra into the base starting with the back of the device with t he hose fitted into the slot. You will then be able to rotate the base into place with ease.
Step 4:
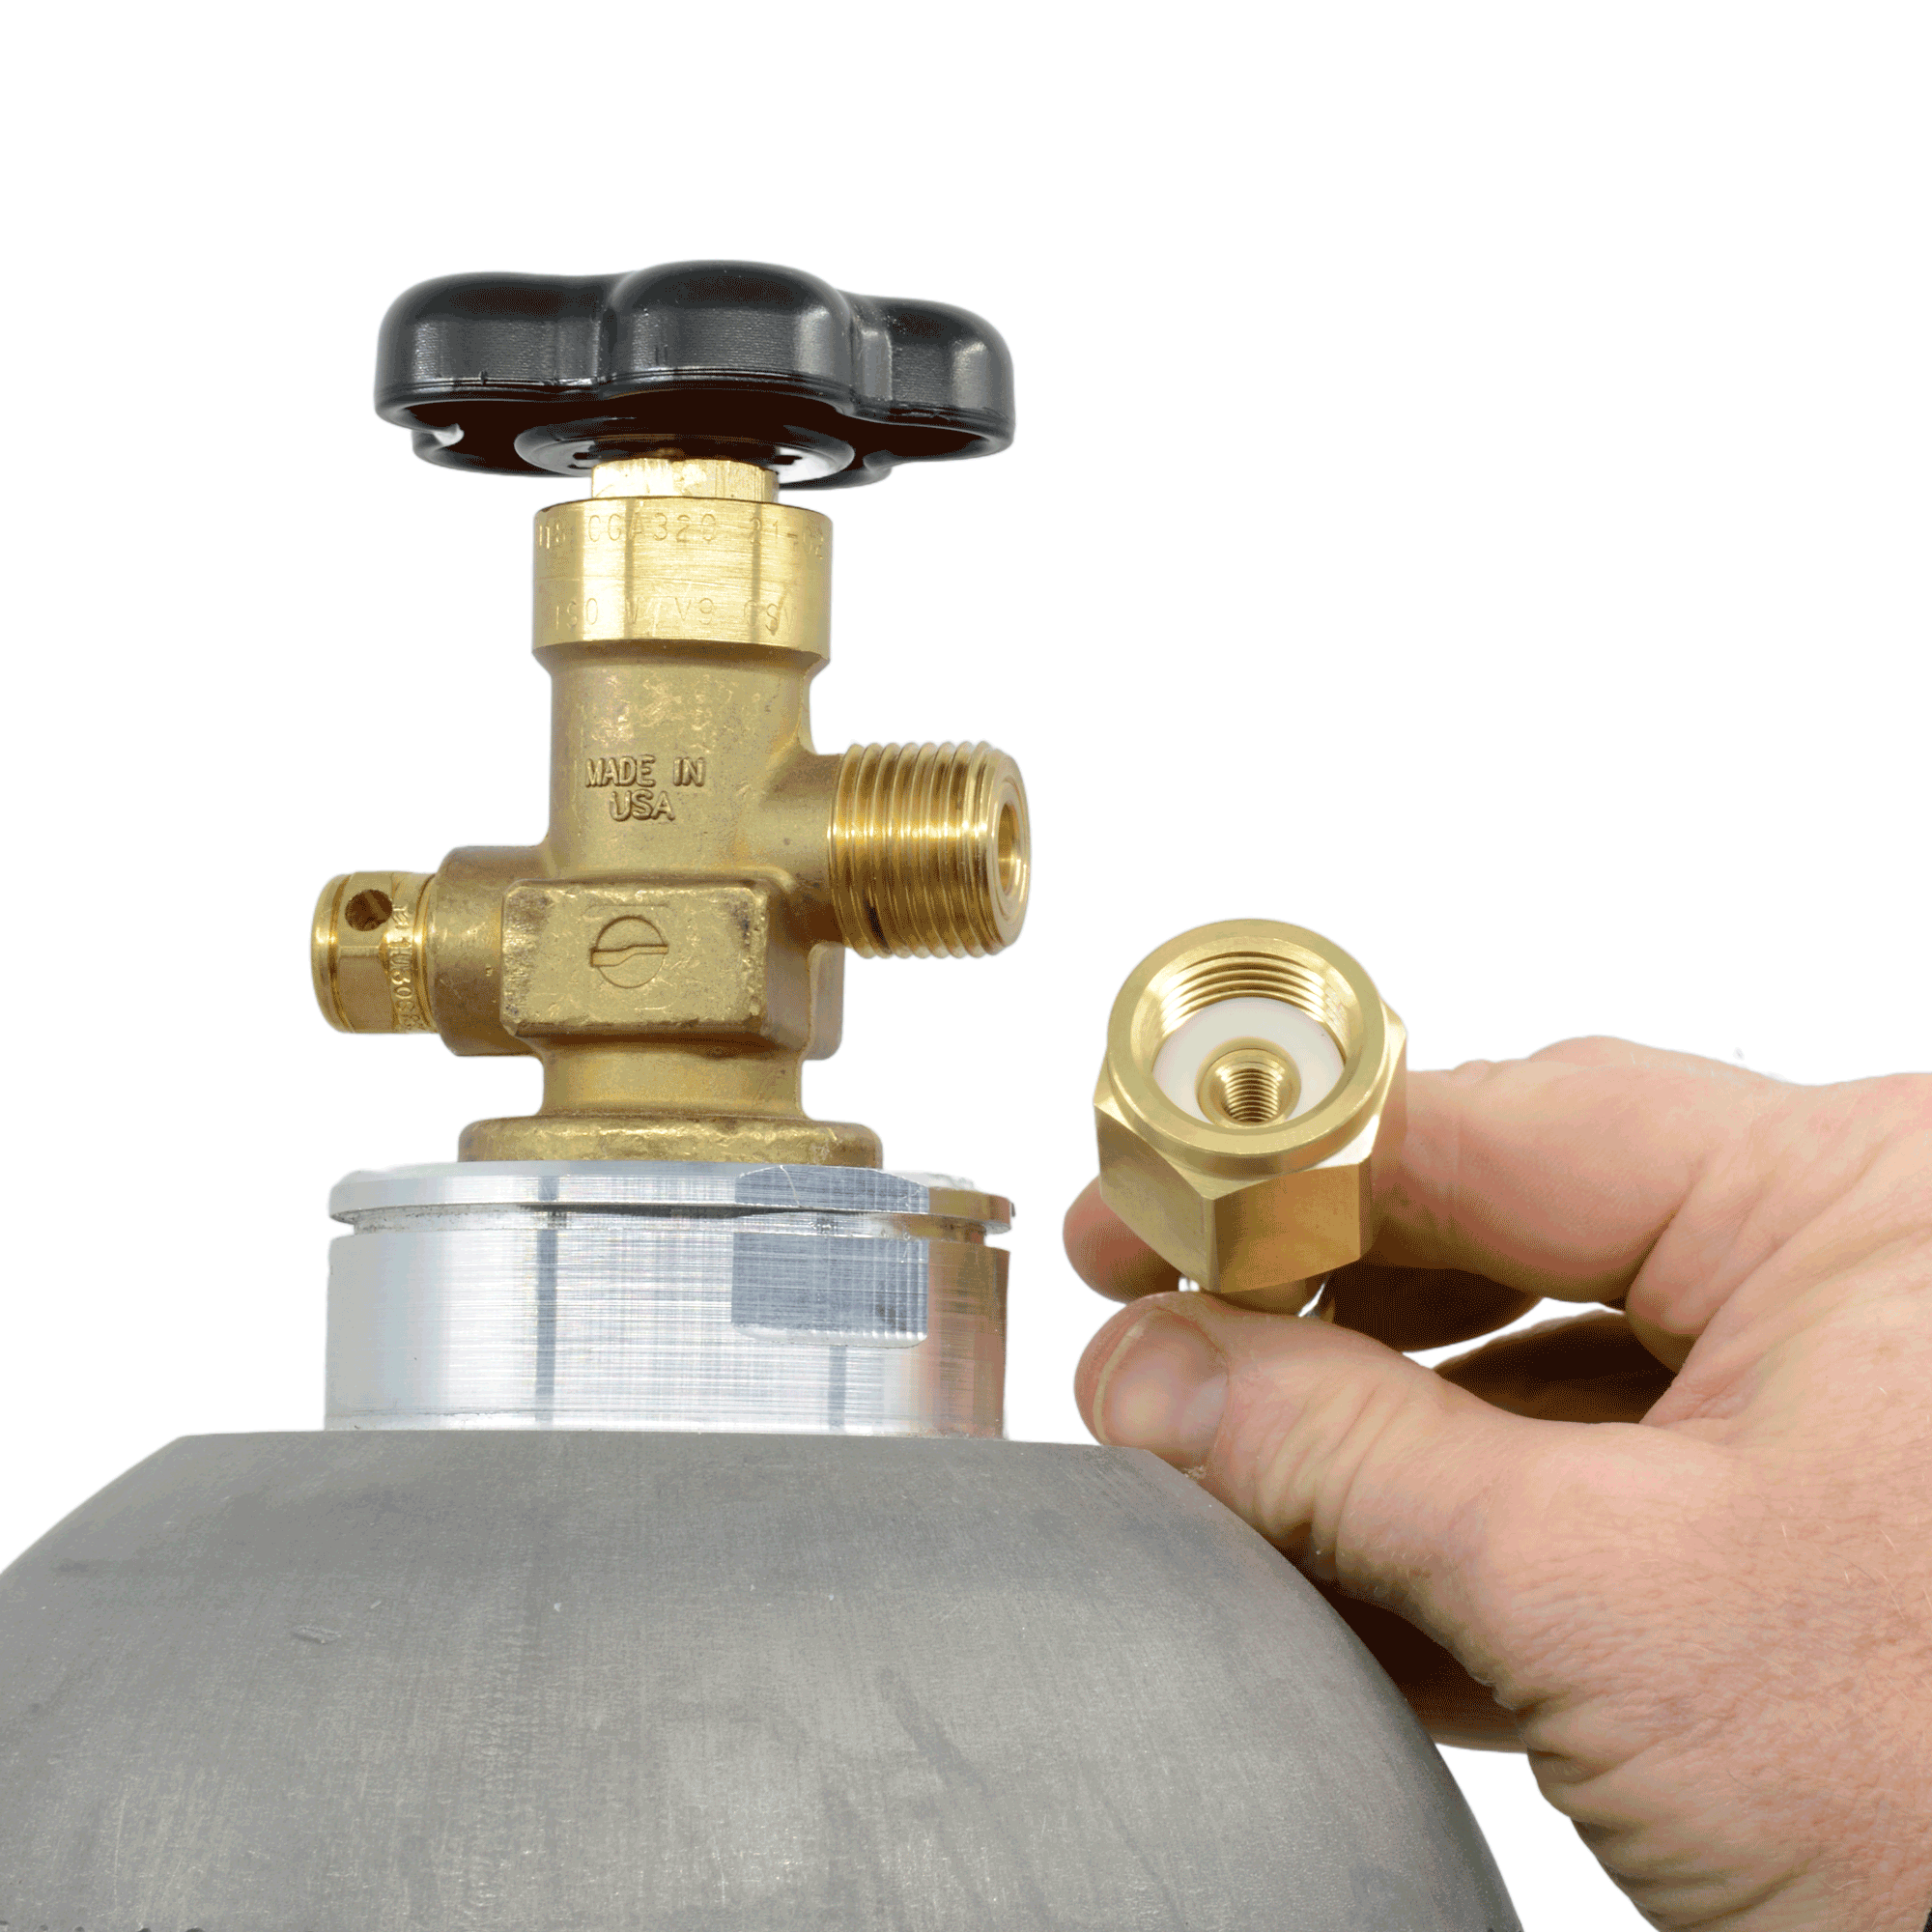
Ensure that the white washer is securely positioned on the threaded end of the adapter hose.
Step 5:
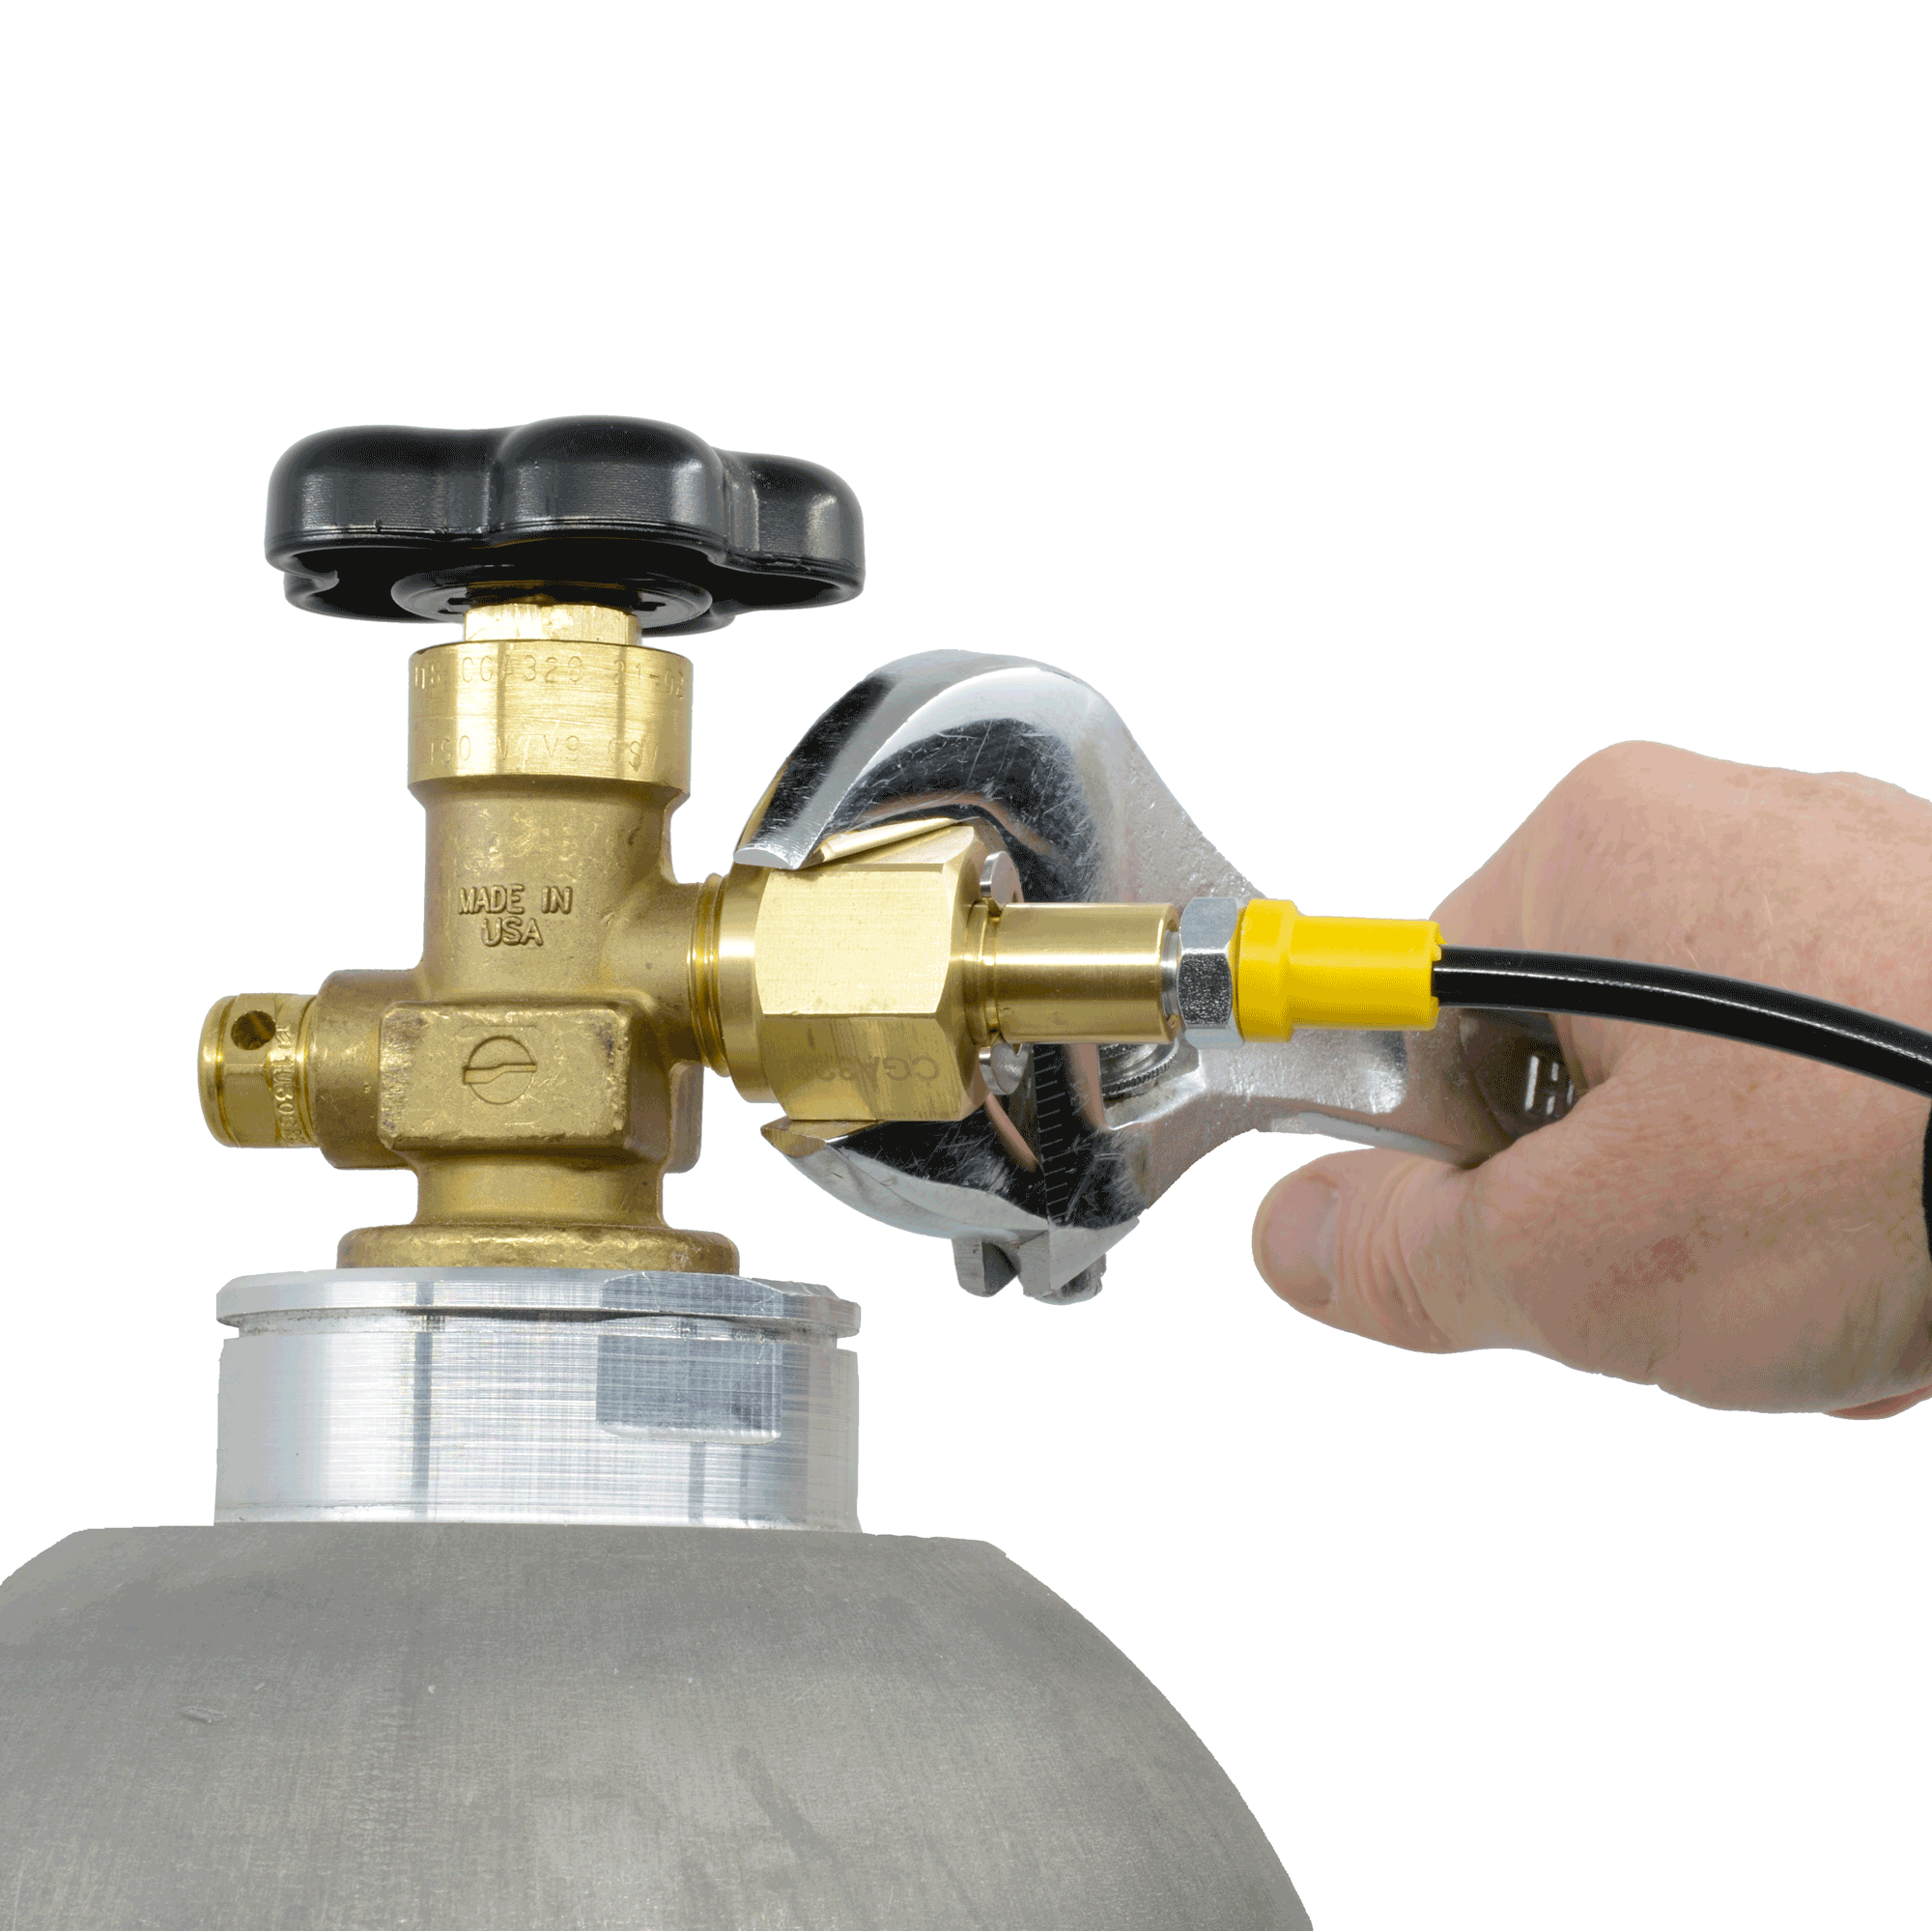
Ensure that the connection to your CO2 tank is securely tightened with a wrench for optimal performance, while being cautious to avoid applying too much force that could damage the fittings or compromise the integrity of the system.
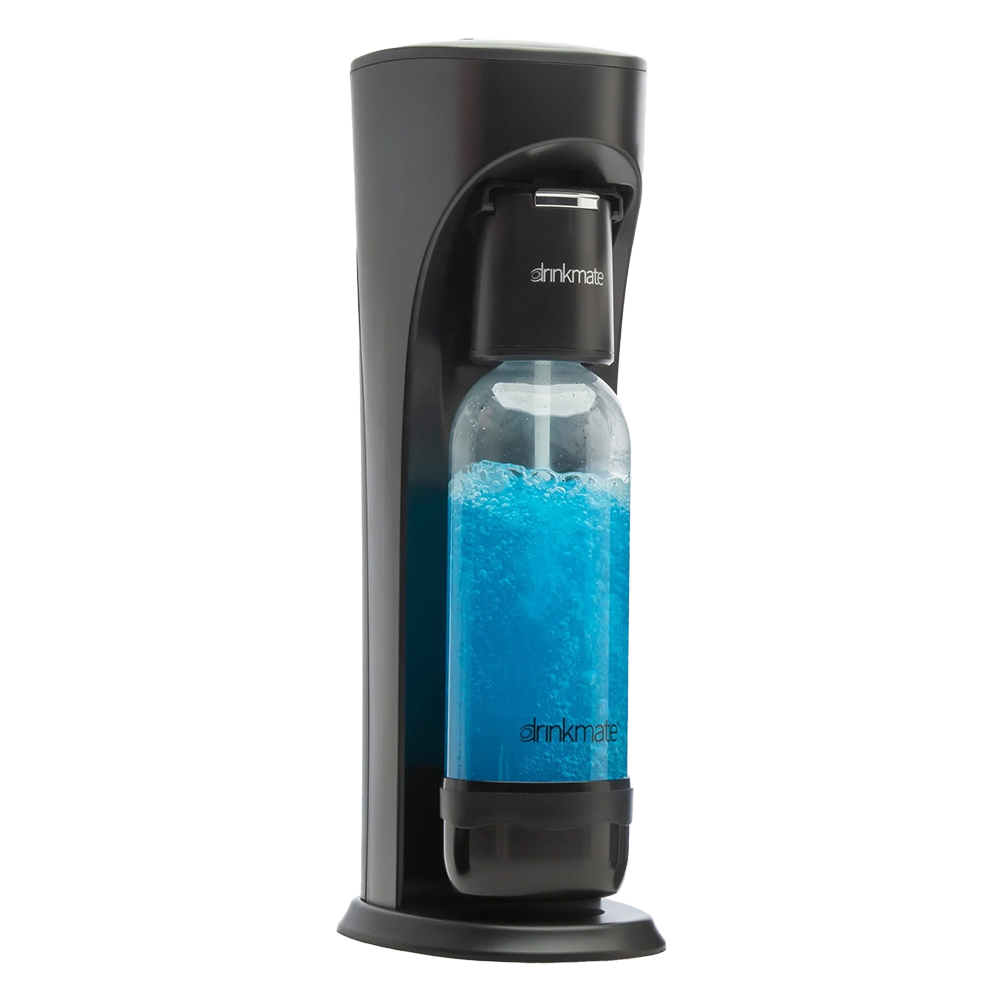
Drinkmate Omnifizz Instructions
Step 1:
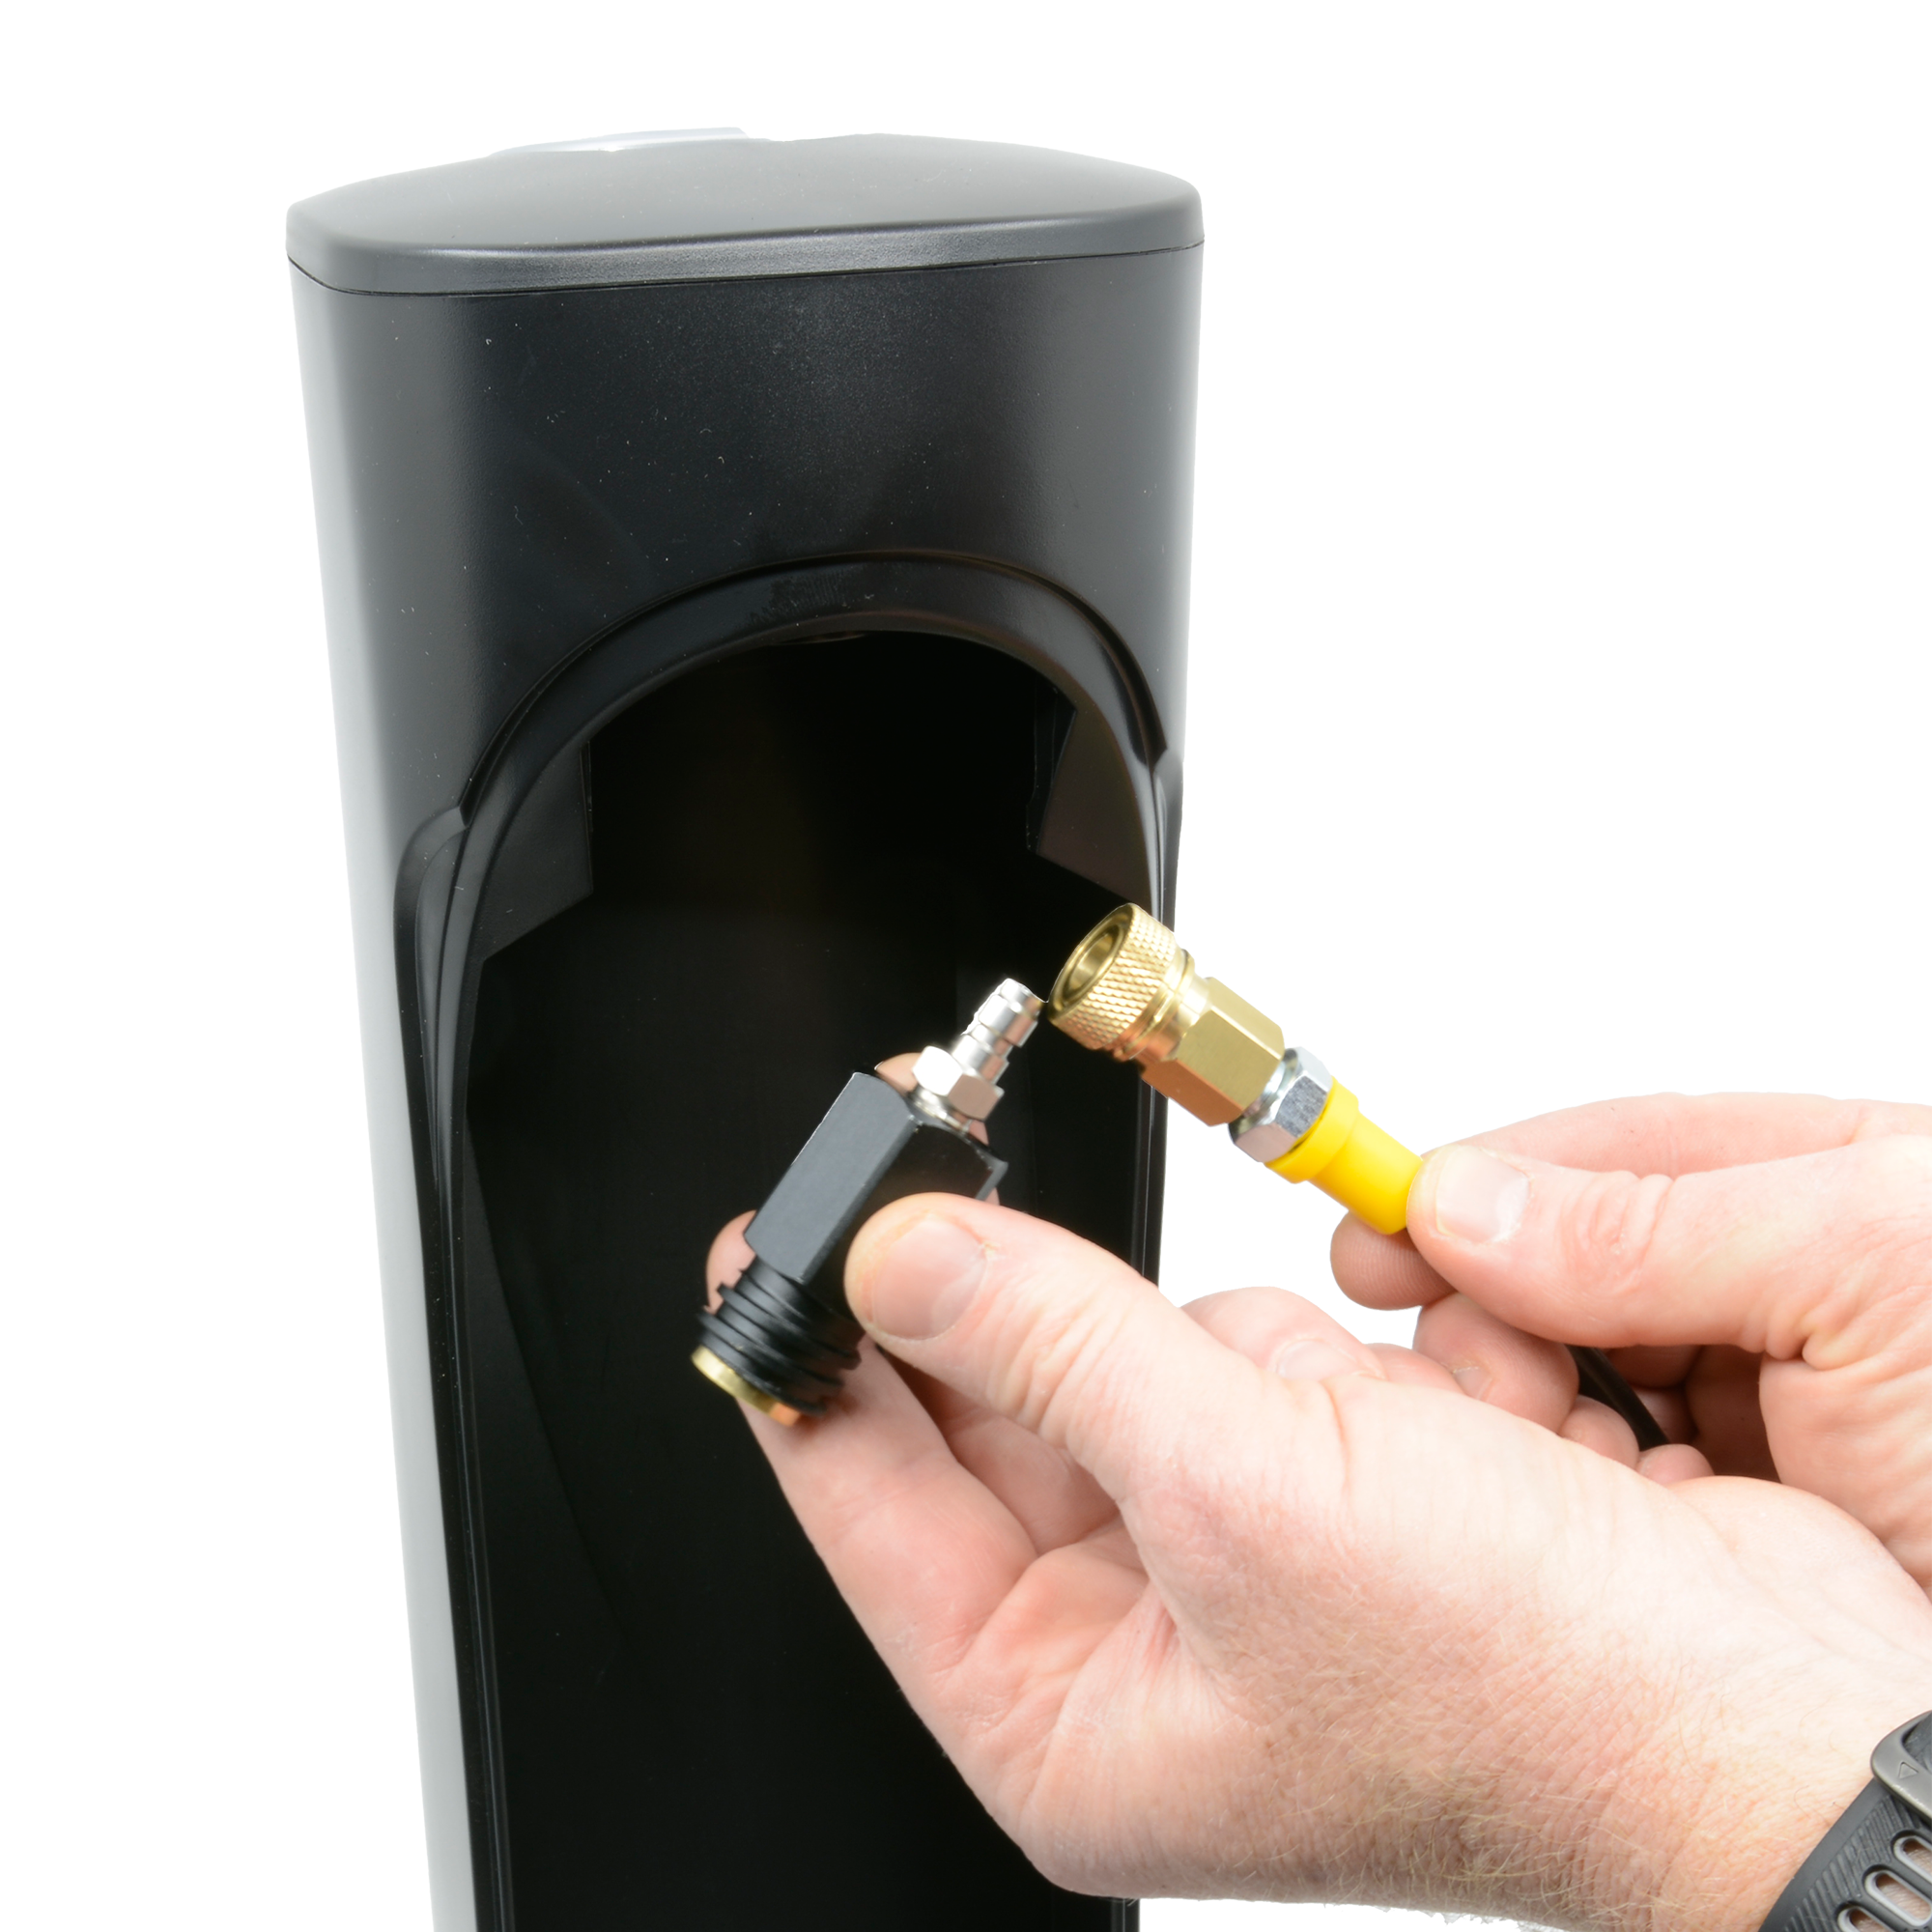
Remove the back of the Omnifizz and disconnect the threaded adapter from the quick connect
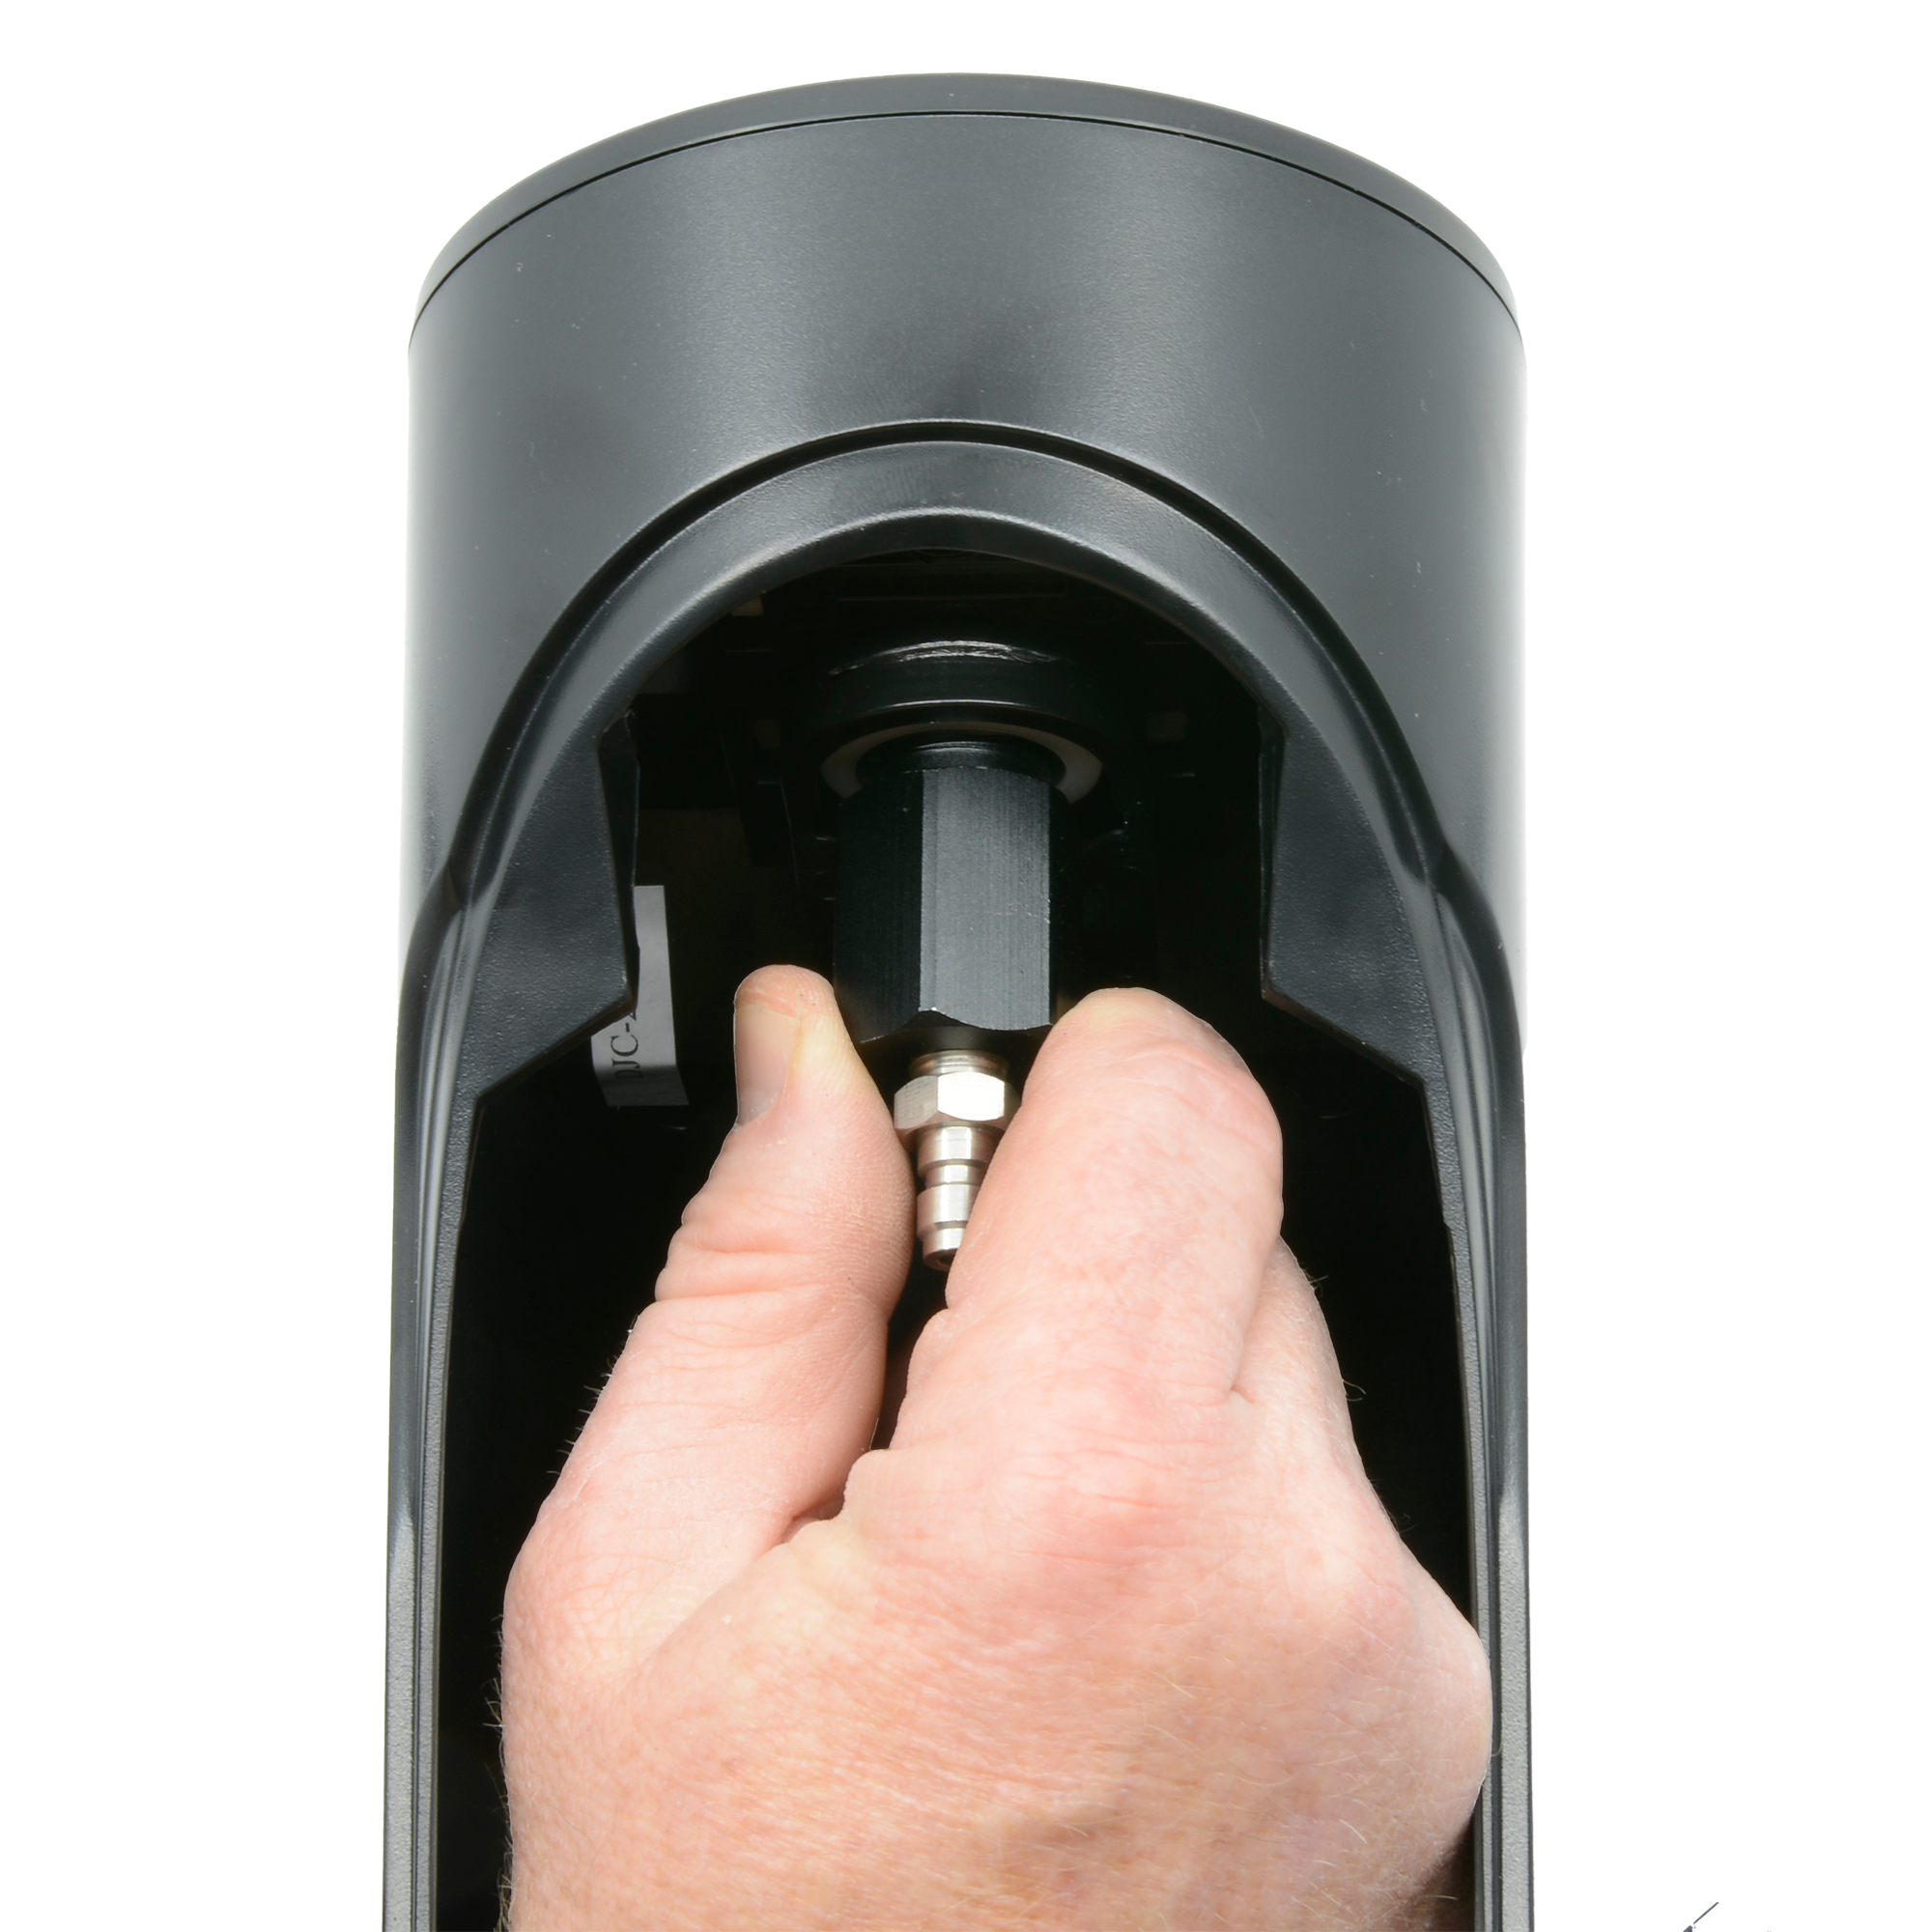
Step 2:
Firmly Attach the Adapter to the Omnifizz in a similar manner to how you would attach a bottle. you can use a wrench but do not over tighten.
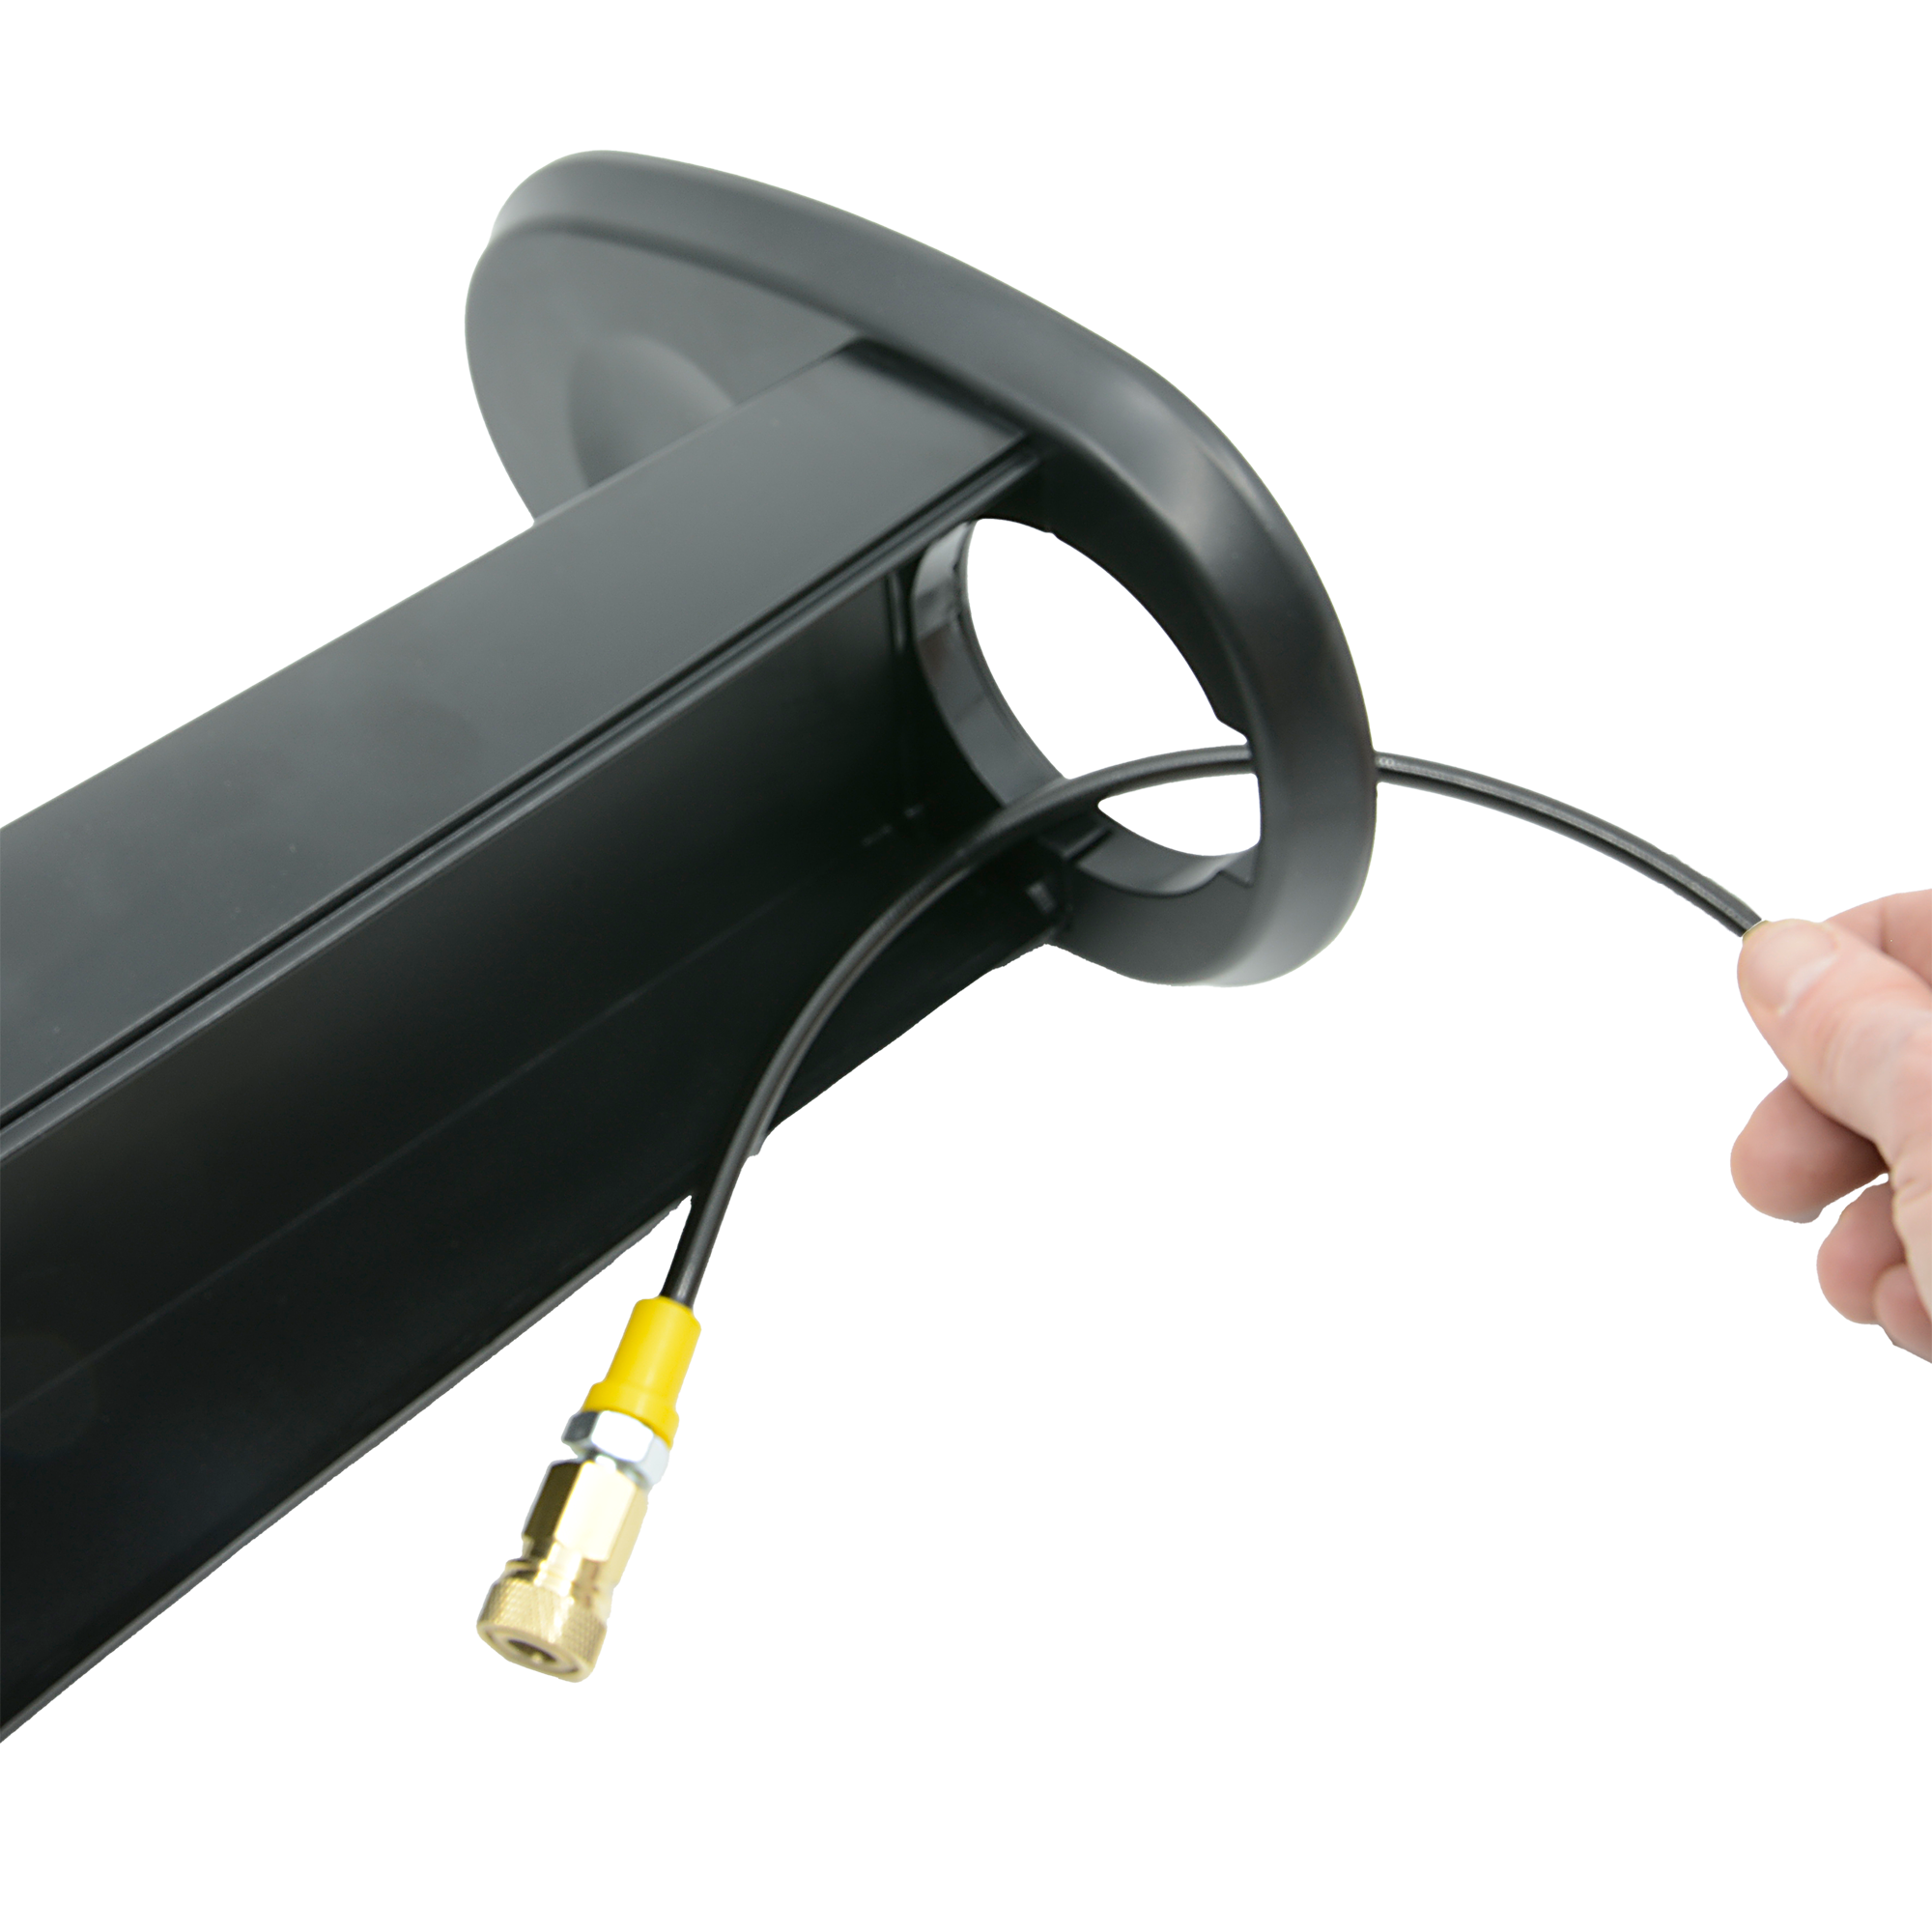
Step 3:
Pass the adapter hose through the bottom of Your Omnifizz device
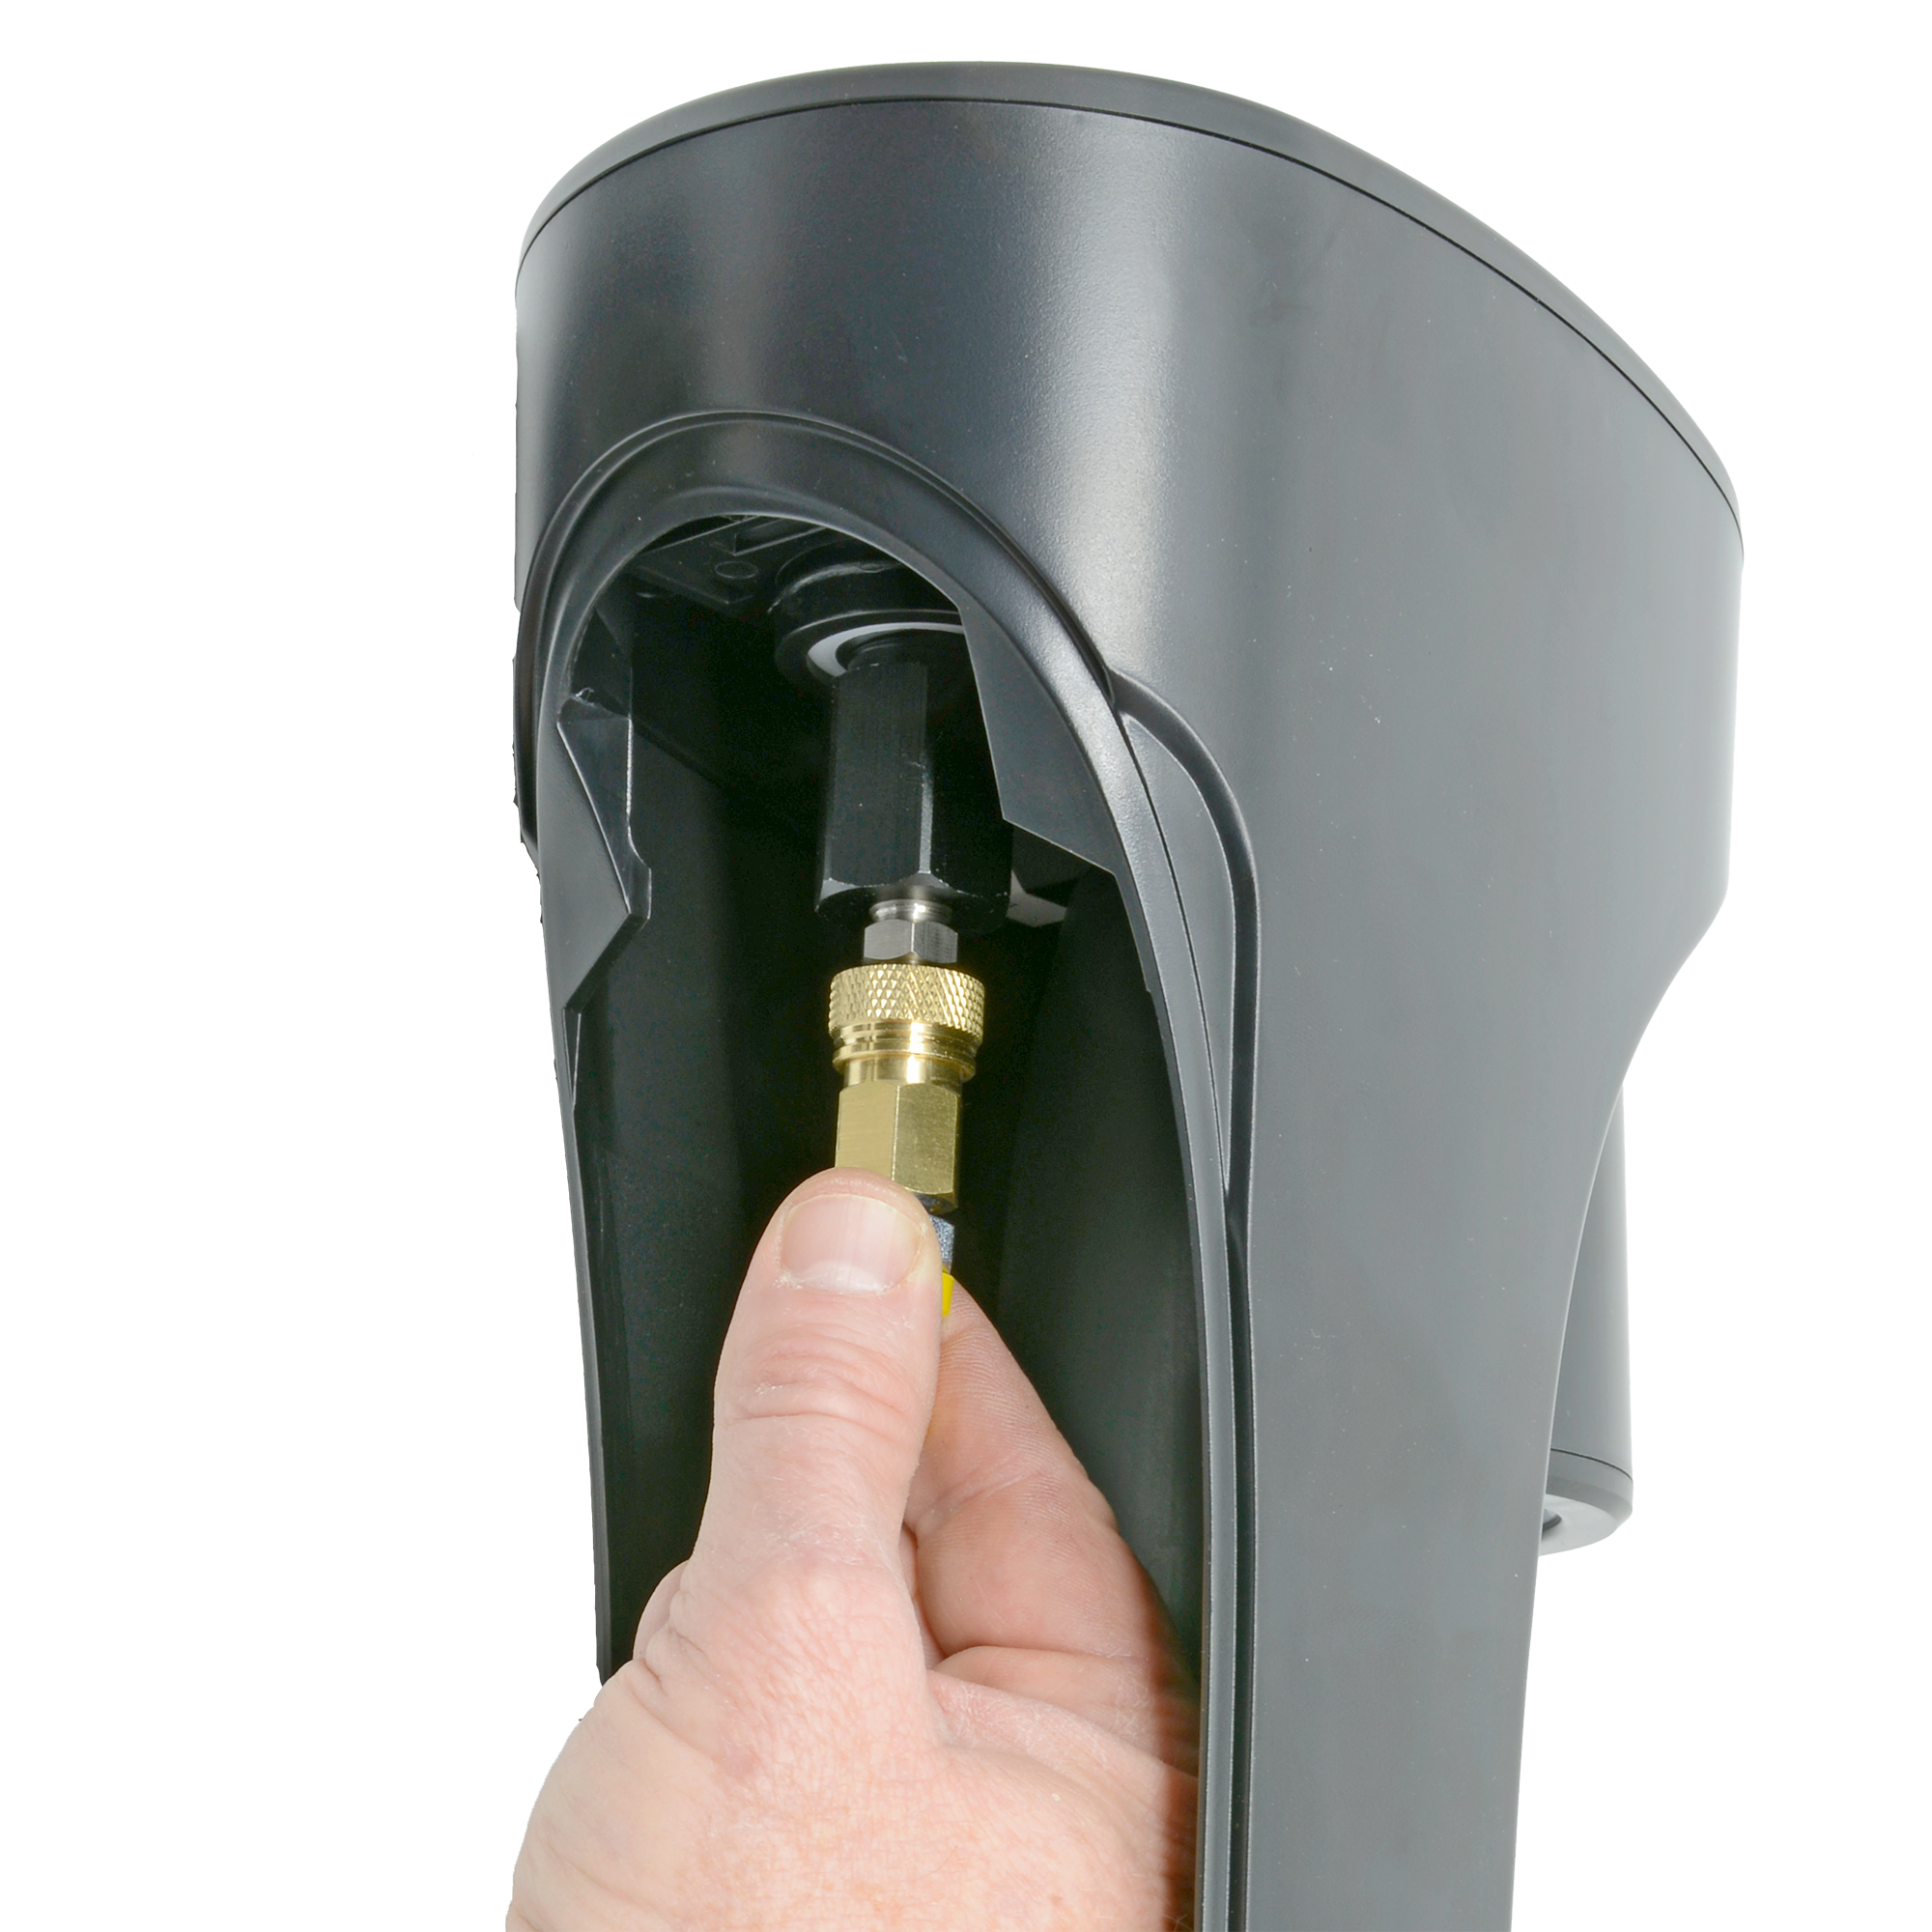
Step 4:
Reattach the quick connect but gently pulling back on the knurled ring aligning and then firmly pushing it into place.
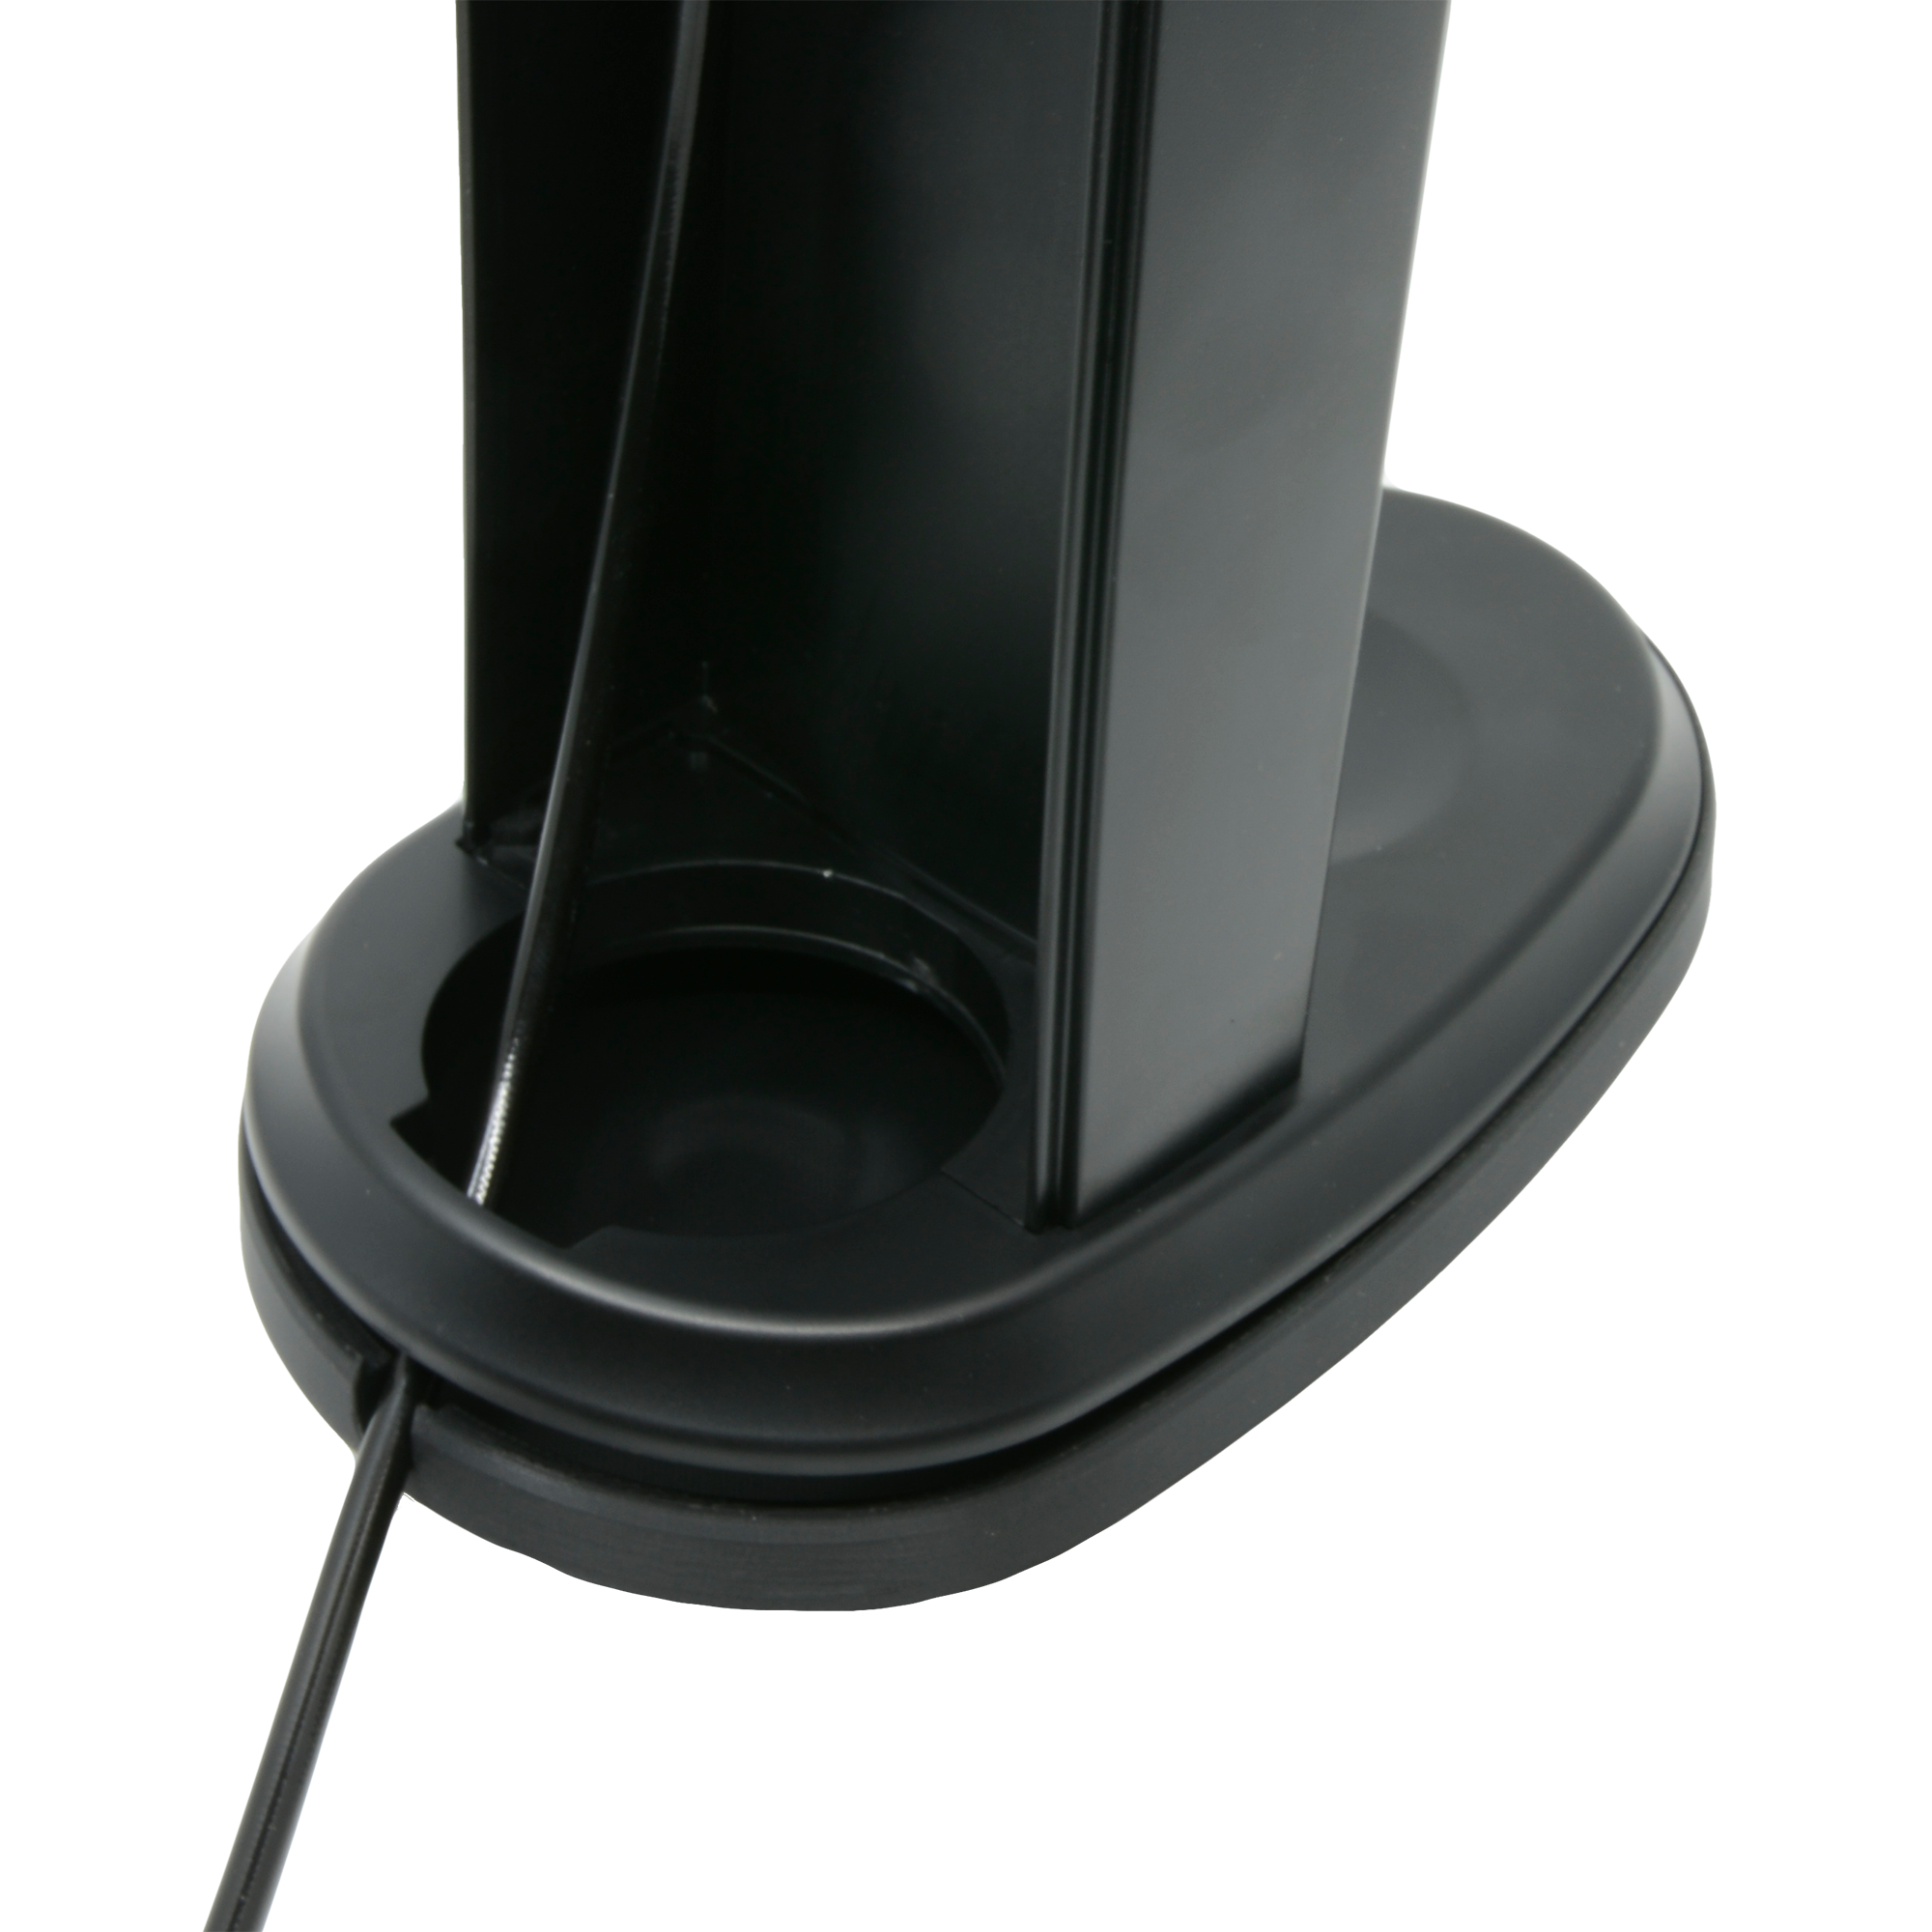
Step 5:
Place the Drinkmate Omnifizz into the base starting with the front of the device. Ensure the hose is in the slot. You will then be able to rotate the base into place. It should snap into place.

Step 6:
Ensure that the white washer is securely positioned on the threaded end of the adapter hose.

Step 7:
Ensure that the connection to your CO2 tank is securely tightened with a wrench for optimal performance, while being cautious to avoid applying too much force that could damage the fittings or compromise the integrity of the system.
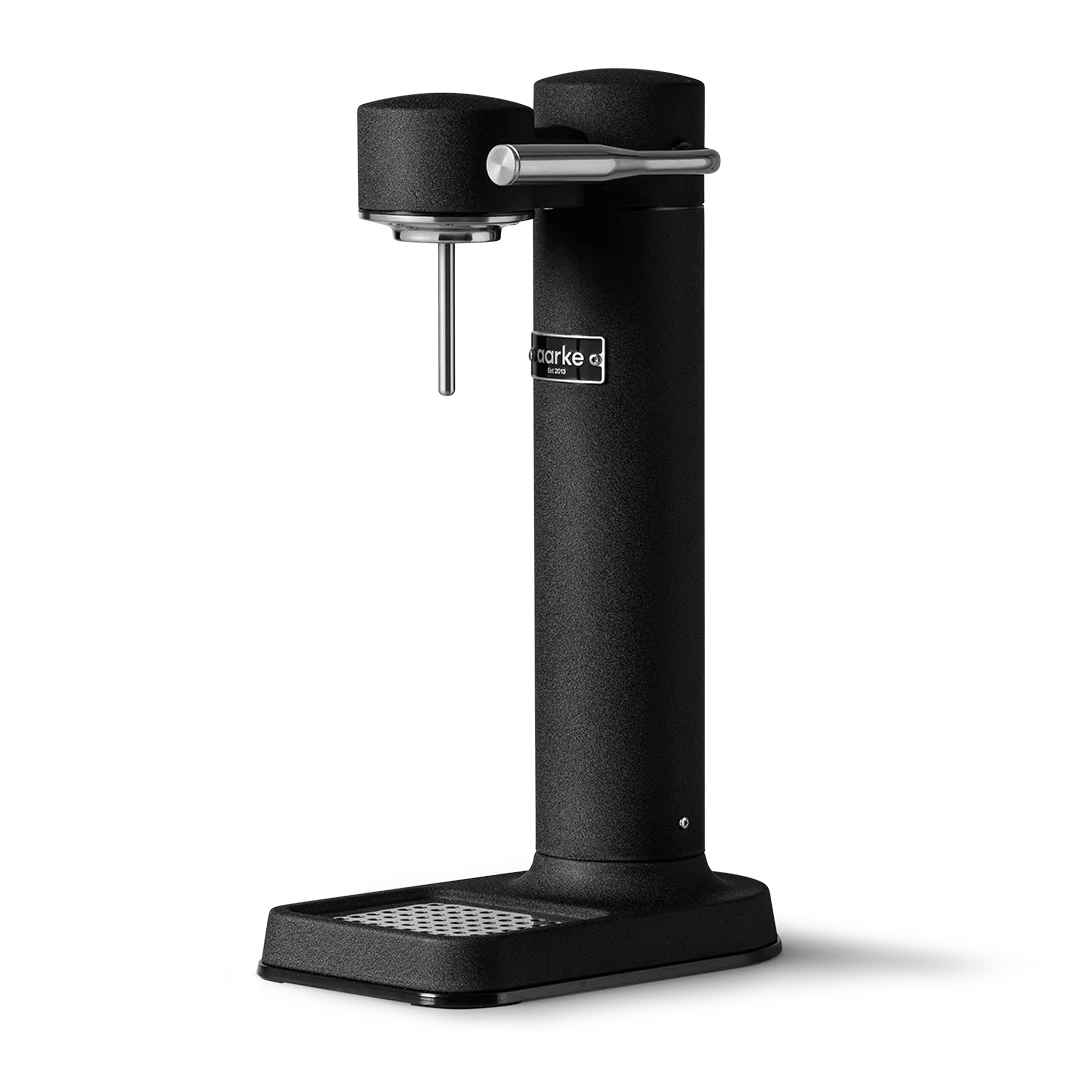
Aarke Carbonator3 Instructions
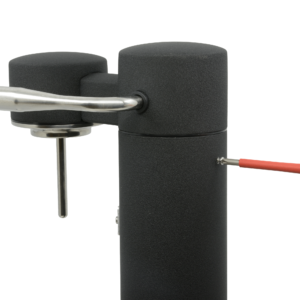
Step 1:
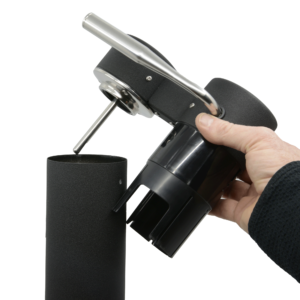
Step 2:
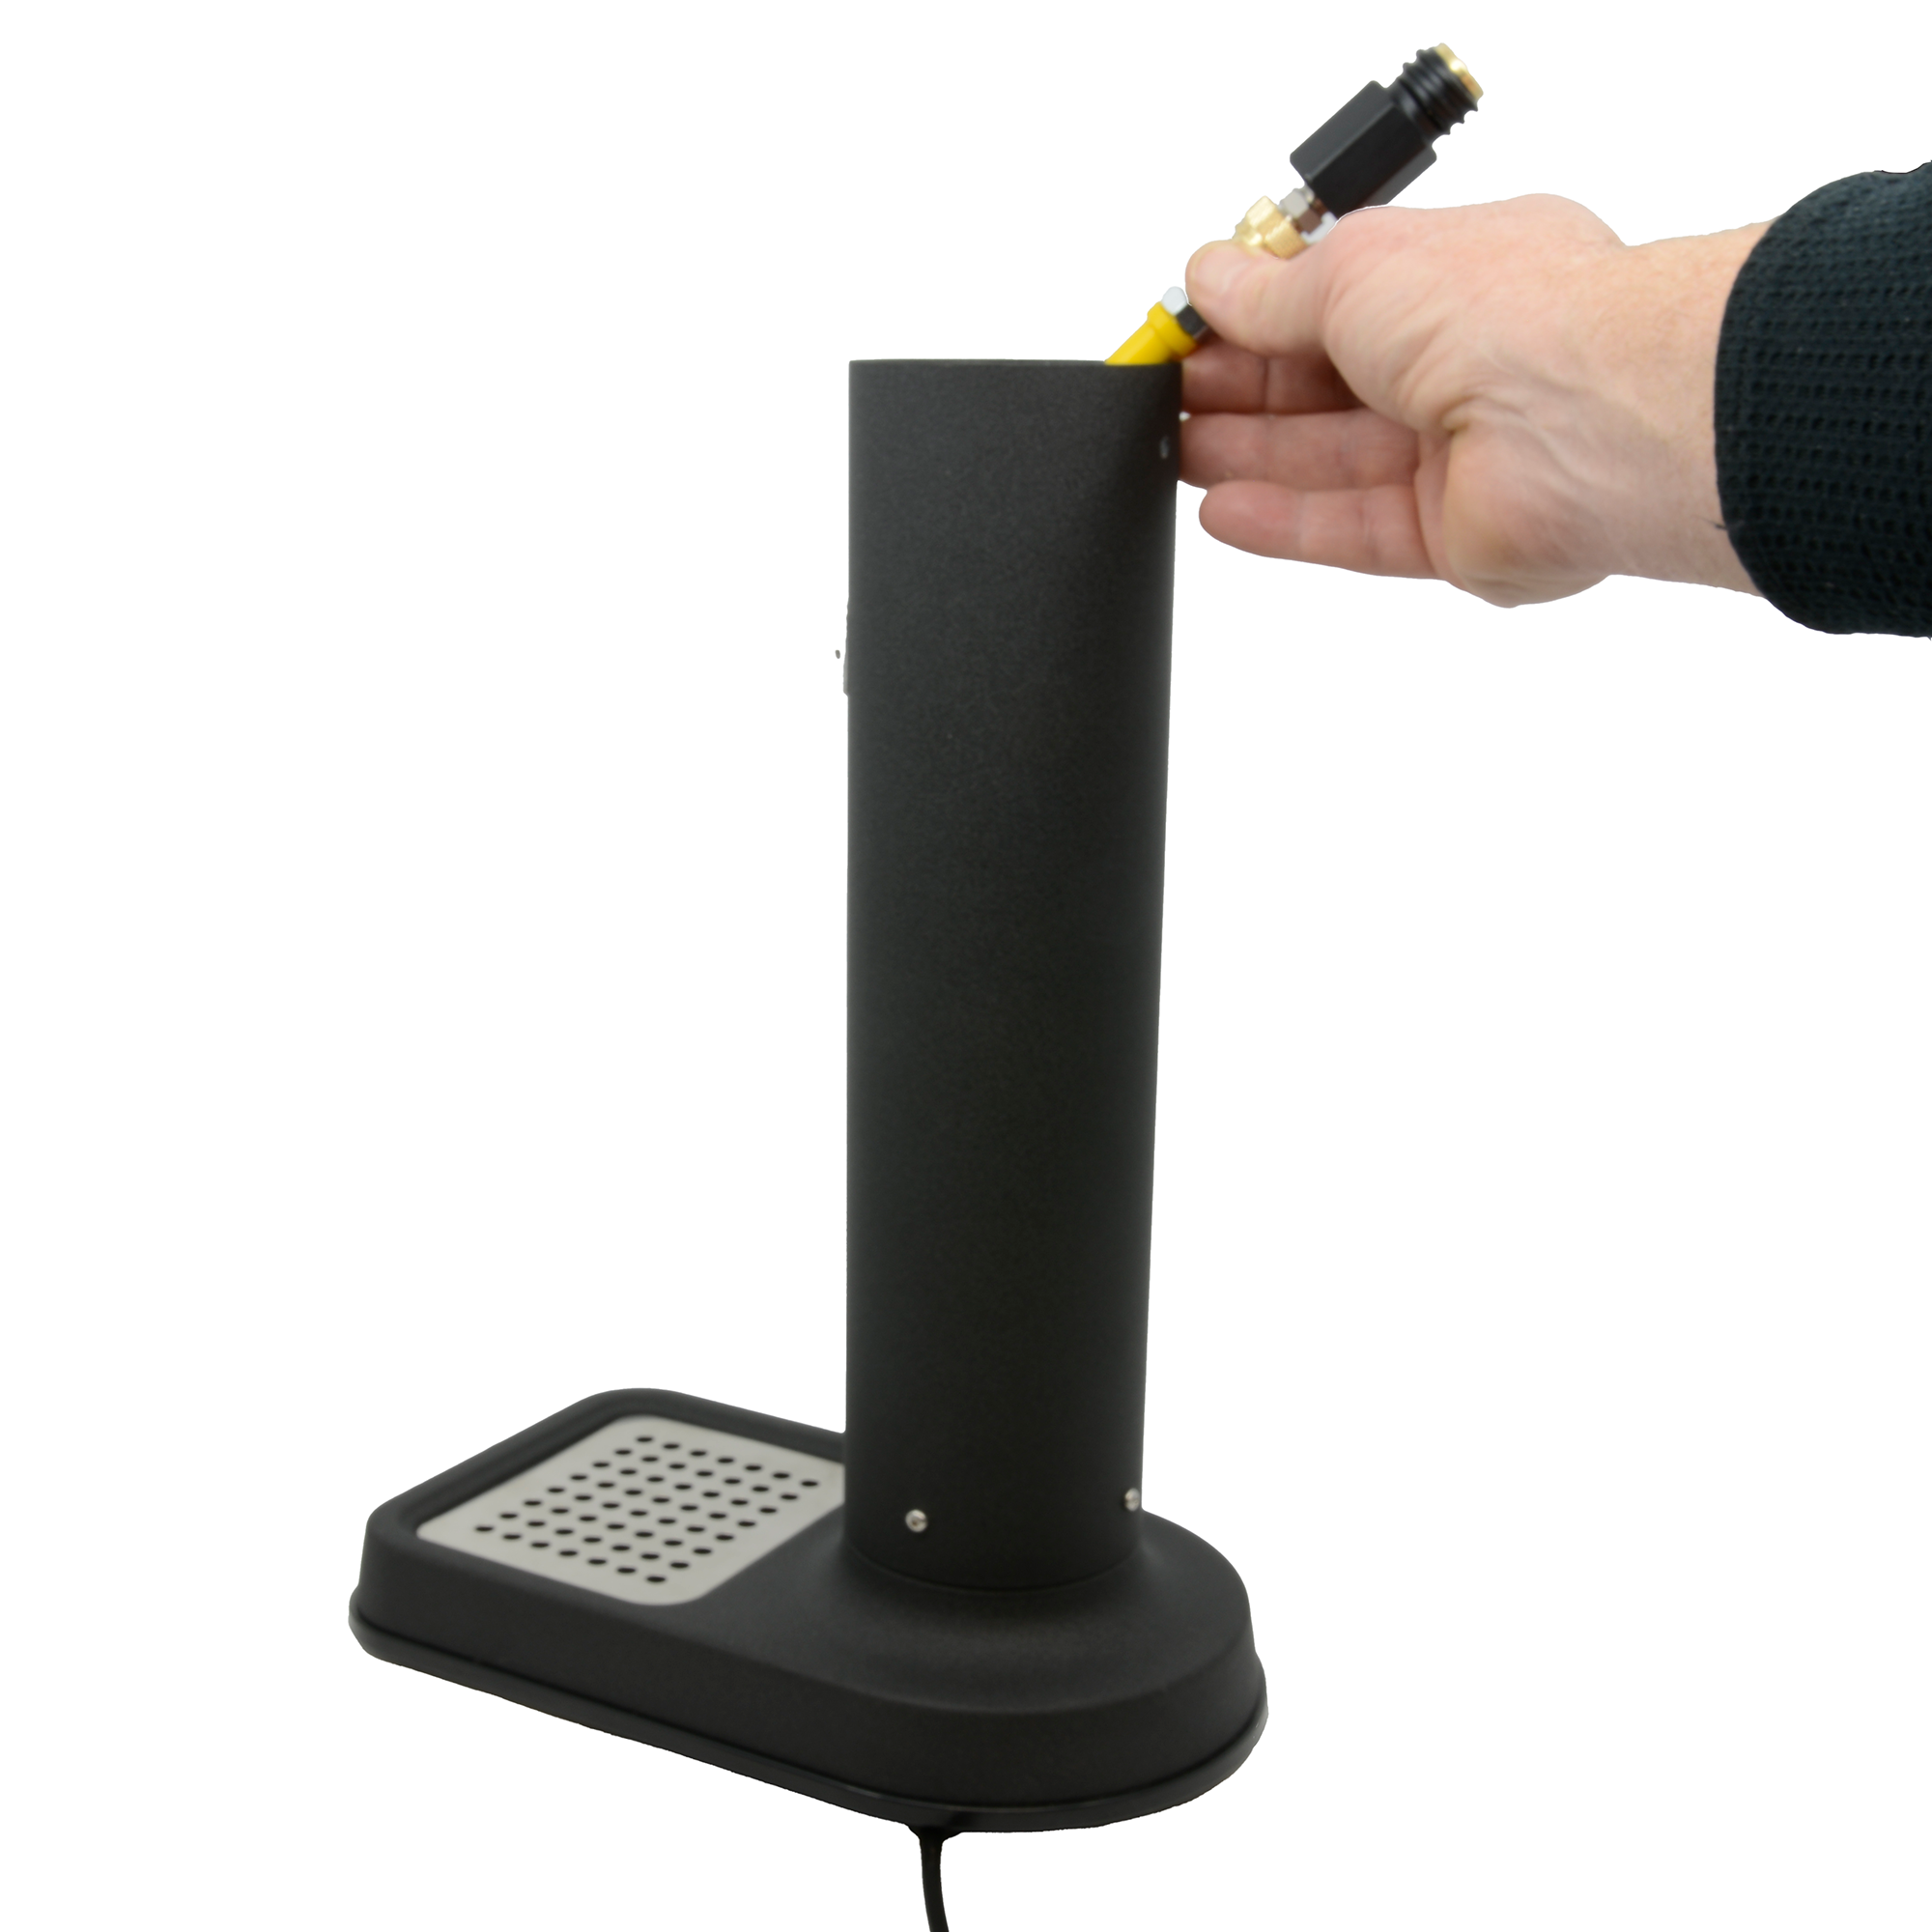
Step 3:
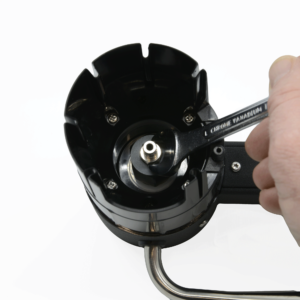
Step 4:
REMEMBER: THIS CONNECTION IS TYPICALLY HAND TIGHTENED WHEN CONNECTING A BOTTLE. TIGHTEN GENTLY. To remove the black threaded adapter from the quick connect, pull back on the knurled quick release mechanism and then securely tighten it into place. You can use either a small wrench as depicted or a larger one that fits the black adapter section.
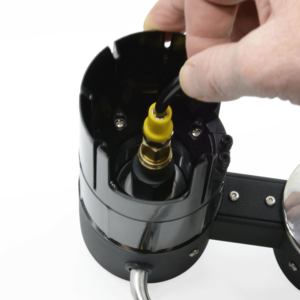
Step 5:
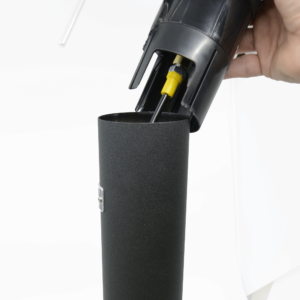
Step 6:
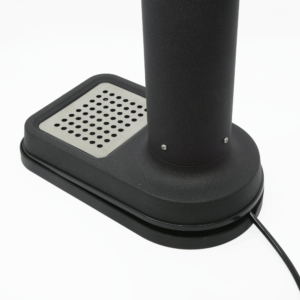
Step 7:

Step 8:
Ensure that the white washer is securely positioned on the threaded end of the adapter hose.

Step 9:
Ensure that the connection to your CO2 tank is securely tightened with a wrench for optimal performance, while being cautious to avoid applying too much force that could damage the fittings or compromise the integrity of the system.
Pink Quick connect adapter installation
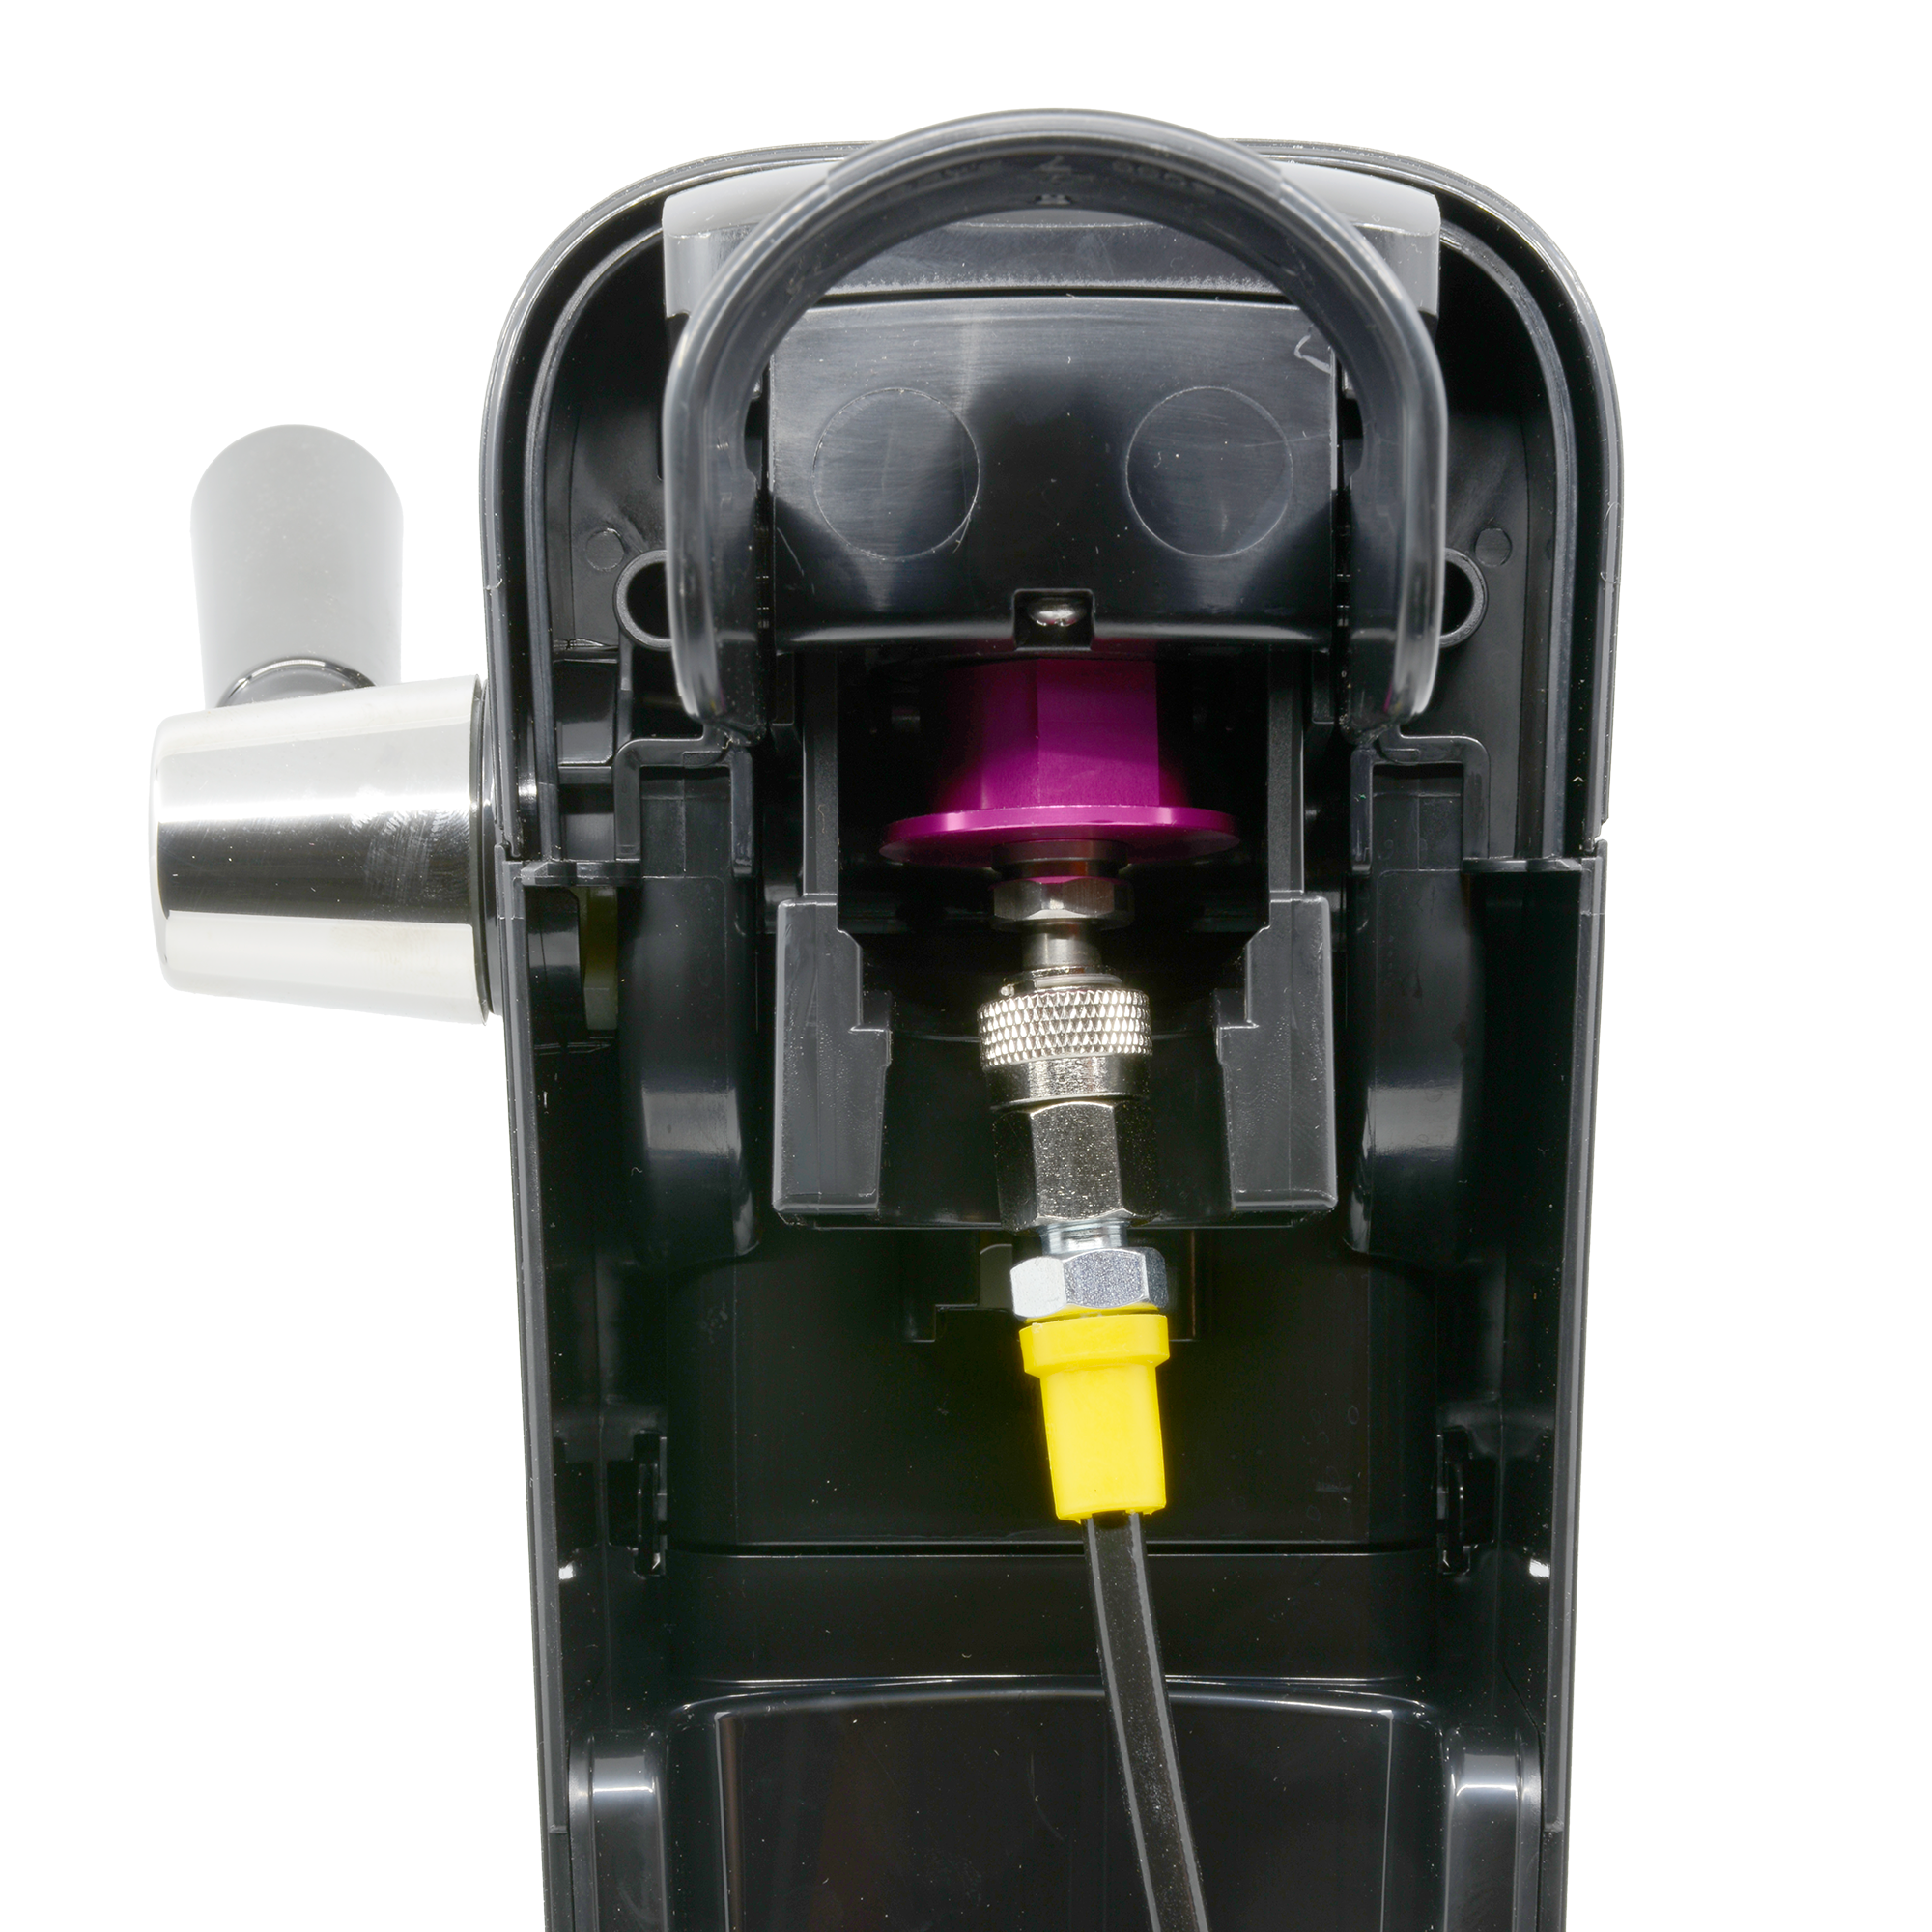
Step 1:
Remove the back of the device and place the hose adapter into the SodaStream ina similar manner to how you would with a pink label bottle.

Step 2:
Latch the hose into place just as you would with the bottle.
Step 3:
If you did not purchase one of our bases you will need to leave the back off of your Soda stream so the hose can exit to the tank without making the base unstable.
Alternatively you could drill a 3/4 inch hole in the back and use the quick disconnect to pass the hose through.
It’s not too late though… you can still order base kits for many popular Water carbonator models here: https://amzn.to/3BdP2mn

Step 4:
Ensure that the white washer is securely positioned on the threaded end of the adapter hose.

Step 5:
Ensure that the connection to your CO2 tank is securely tightened with a wrench for optimal performance, while being cautious to avoid applying too much force that could damage the fittings or compromise the integrity of the system.
Universal CO2 adapter hose installation for Water Carbonators that use Blue Label CO2 Canisters

Step 1:
For many, but not all Water Carbonators it is easier to remove the threaded adapter from the hose by releasing the Quick connect coupler

Step 2:
Firmly Attach the Adapter to the Water Carbonator in a similar manner to how you would attach a bottle. You will likely need to use a wrench but do not over tighten.

Step 3:
Reattach the quick connect but gently pulling back on the knurled ring aligning and then firmly pushing it into place.
Step 4:
If you did not purchase one of our bases you will need to leave the back off of your Soda stream so the hose can exit to the tank without making the base unstable.
Alternatively you could drill a 3/4 inch hole in the back and use the quick disconnect to pass the hose through.
It’s not too late though… you can still order base kits for many popular Water carbonator models here: https://amzn.to/3BdP2mn

Step 5:
Ensure that the white washer is securely positioned on the threaded end of the adapter hose.

Step 6:
Ensure that the connection to your CO2 tank is securely tightened with a wrench for optimal performance, while being cautious to avoid applying too much force that could damage the fittings or compromise the integrity of the system.
Common Installation Queries
Find answers to the most frequently asked questions about installing your water carbonator accessories.
How do I know if the accessory is compatible with my device?
If your device uses CO2 canisters with a pink label then you need the Pink quick connect adapter. If it uses threaded canisters with a blue label then you need the universal Blue adapter.
What should I do if the accessory doesn't fit?
you can always reach out to us with any questions at [email protected]
Can I install the accessory without professional help?
What if I encounter leaks after installation?
Step 1 is to Ensure all connections are tight and the accessory is properly aligned. Common sources of leaking are not threading the universal adapter in tight enough or not fully seating the quick connect adapter during reassembly
If leaks persist the next place to look is ensuring you have a teh white washer/gasket properly installed in the GCA320 connection to your CO2 Canister.
Is it safe to use the device immediately after installation?
Where can I find additional support if needed?
Shoot us an email at [email protected]
What Our Customers Say
★★★★★
“The installation guide was incredibly easy to follow. My Soda Helper accessories were set up in no time, and now my soda tastes better than ever!”
Alex J.
★★★★★
“Thanks to Soda Helper’s clear instructions, I installed my new carbonator accessories without any hassle. Highly recommended!”
Jamie L.

